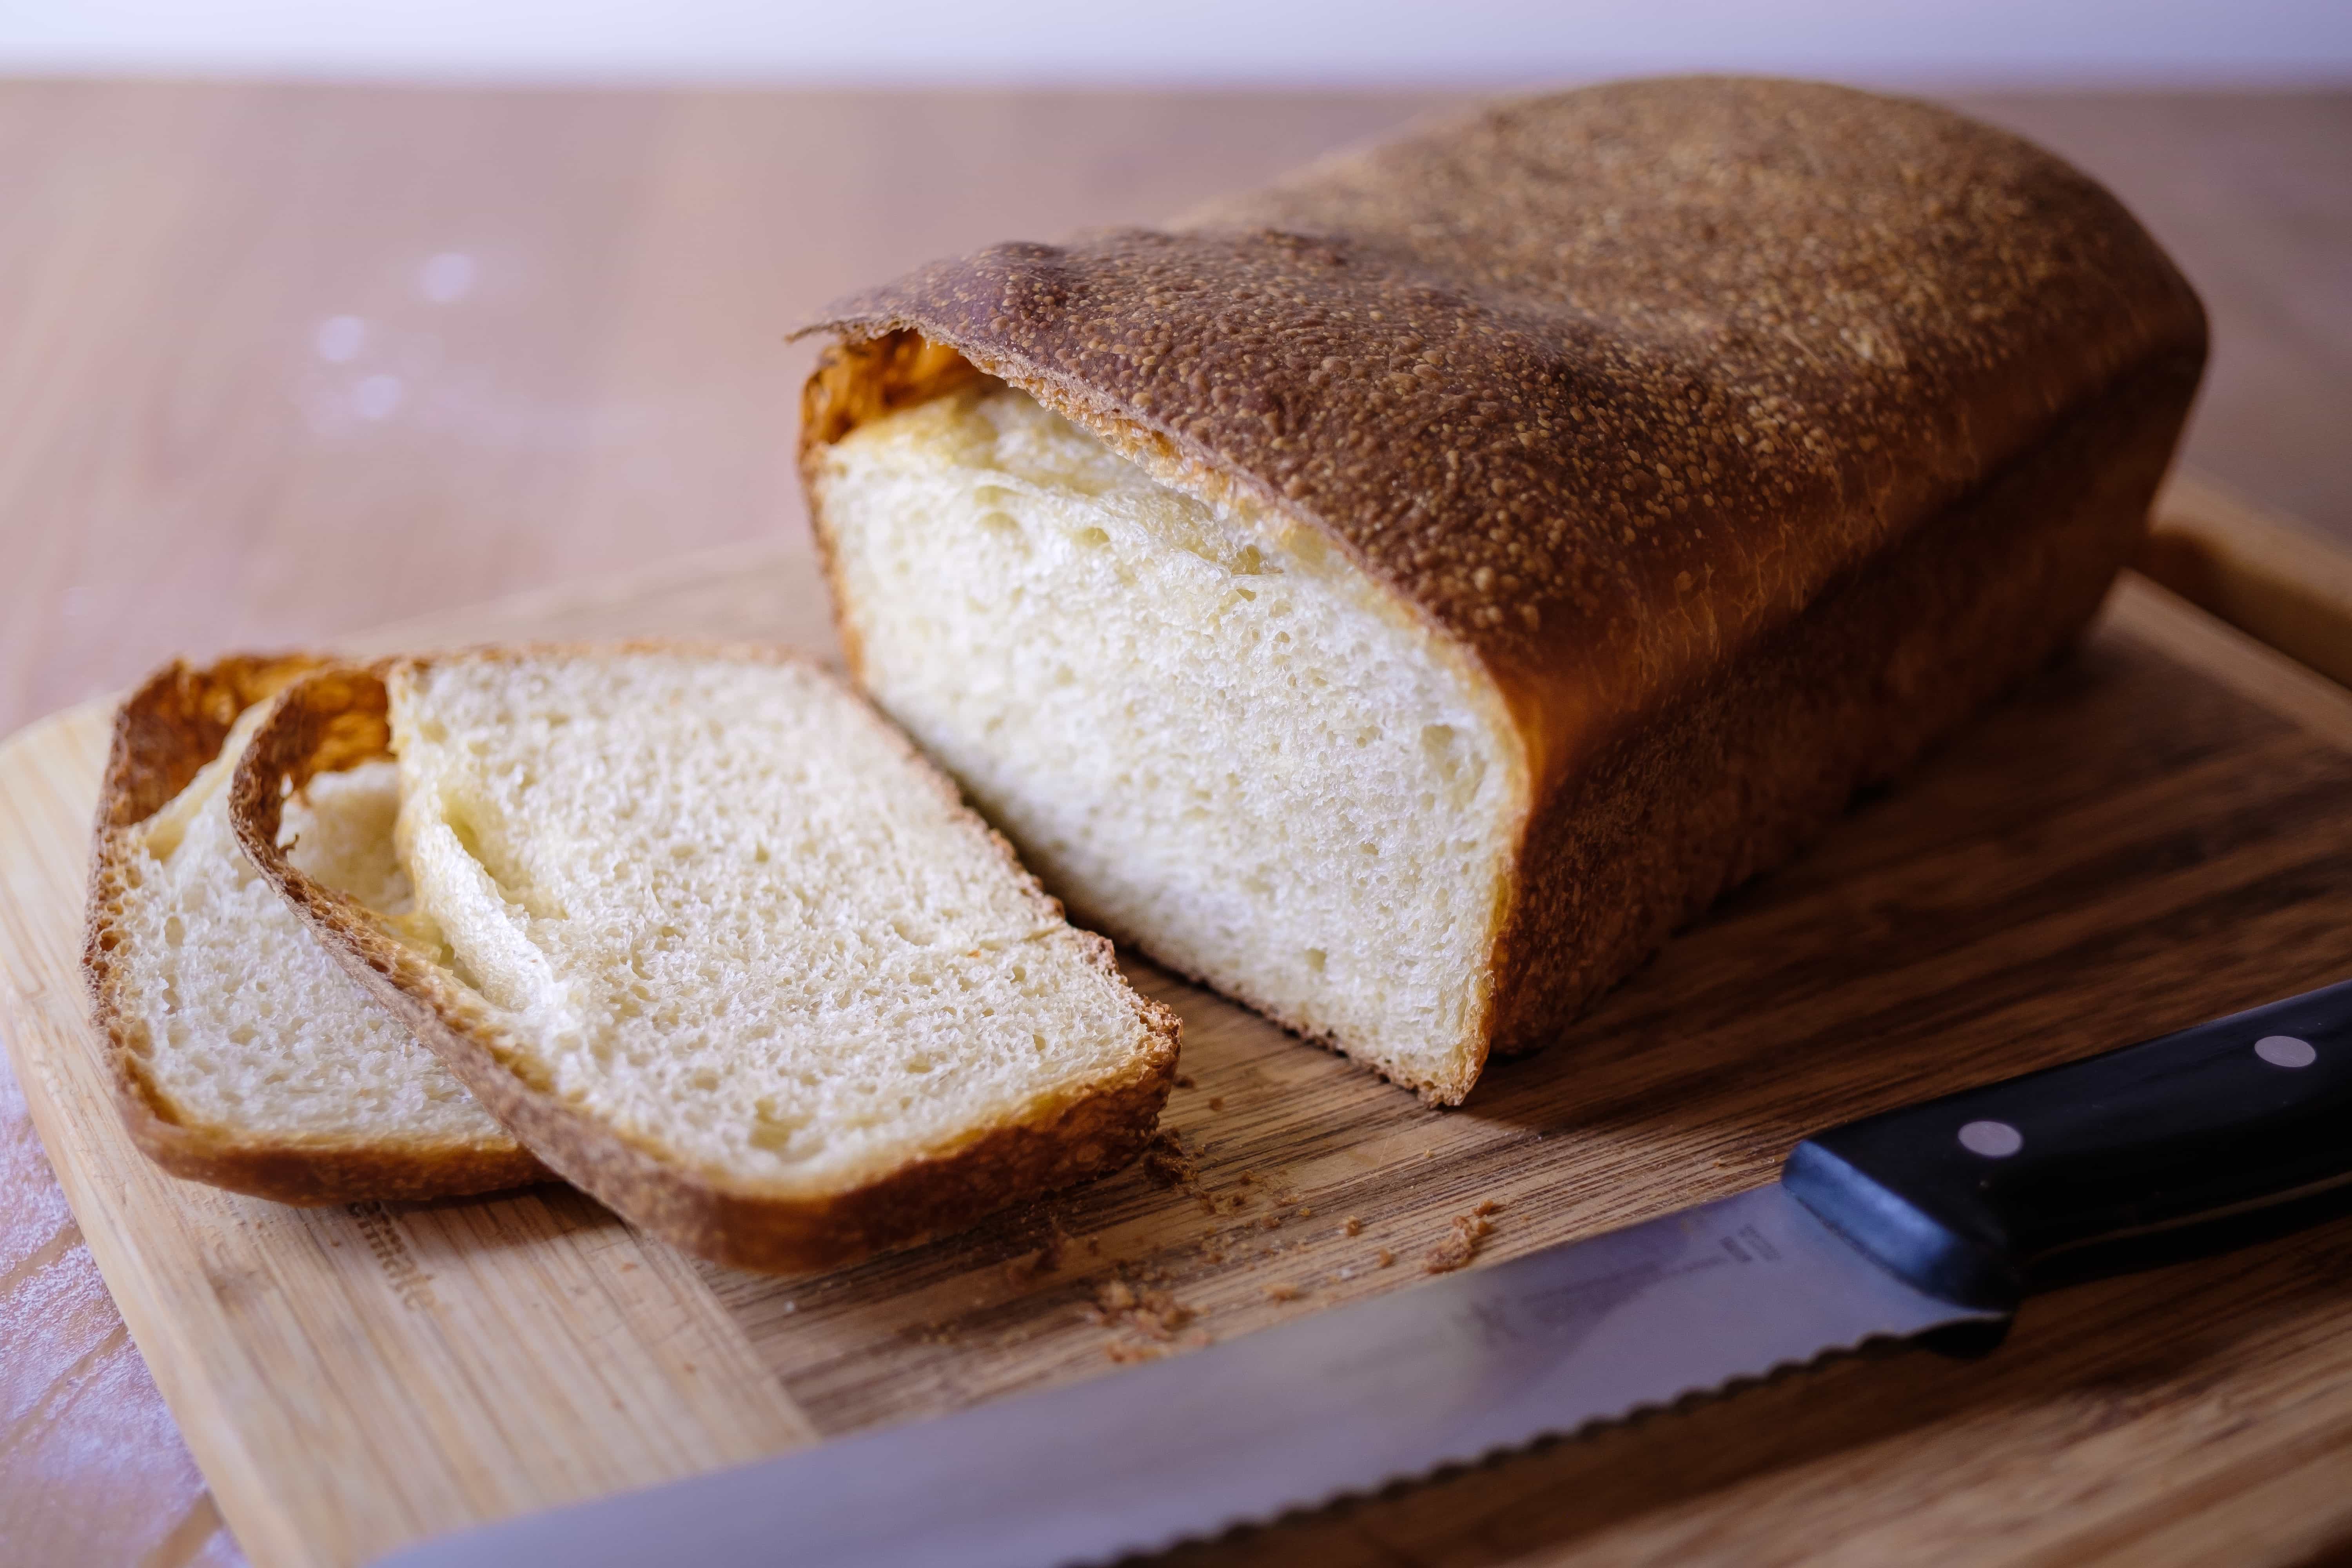
You wouldn’t think it’s possible but this bread is depressing. Although it took almost a full 24 hours to get here, this is the best bread I’ve ever made and one of the best I’ve had in my life. So, whatever circumstances that led to its creation, I know it’s unlikely I’ll ever reproduce it, and that depresses me. It came out with a perfect crusty exterior and a soft, pillowy interior. It probably shouldn’t be baguette like on the outside, for a white loaf bread, but I couldn’t be happier with the results.
I ended up leaving the first rise out over night which came in at about maybe 12 hours. My kitchen was cold, about 65°, so it wasn’t as bad as it sounds. The yeast in the dough will create more bubbles in warmer temperatures causing the dough to rise faster. While cold temperatures will cause the yeast to relax and take it’s time. For a quicker rise, you put your boule in the oven with it turned off. What do you sacrifice with a quick rise? Flavor. Putting the dough in the refrigerator overnight will delay the rise and develop more flavor over time. A cool kitchen seems to have been the best of both worlds. Oh… what exactly causes the dough to rise, you ask? Yeast farts.
Once I divided, formed the dough, and placed them in the loaf pans for their final rise, I let them sit for another 10 hours before I preheated the oven to 425°. Again, a cold kitchen is to blame for the long rise. In the oven, these loaves took 15 minutes at 425° and another 30 minutes at 350°. Typically you would mist your bread in the oven with water to get the nice crusty baguette still exterior. For whatever reason, that was not required here. I’ll have to see if I can recreate this recipe in the future to relieve my anxiety of having one of the best loaves ever.

Fannie Farmer White Bread
Ingredients
Method
- Mix the vegetable oil, salt and sugar in a large bowl. Mix in hot milk and hot water.
- In a separate cup, mix the yeast in with warm water and let sit for about 5 minutes to dissolve.
- Add the yeast in to the large bowl and then 3 cups of flour.
- Mix until the flour is well incorporated and the bits of dry flour are minimal. I used a stand mixer here but a wooden spoon or your hand would work as well.
- Add more flour until the dough becomes manageable and you can turn out to a surface lightly dusted with flour.
- Knead for about 2 minutes. Allow to rest for 10 minuets. Knead until dough is smooth and elastic.
- I find that if I can't get the flour to absorb well by mixing, letting it sit for 5 - 10 minutes allows it to hydrate and become smoother.
- Put the dough in a large greased bowl and cover with plastic wrap in a warm dry place for about 2 hours or until doubled in size.
- This is the part that you'll screw up the first ten times you try it. Practice makes perfect here. Dump the dough out to a lightly floured surface and divide in half. You need to gently form the dough in to a rectangle where one side is about the same length as your loaf pan. The other side should be close to three times the width. You're going to fold one third of the dough over itself while firmly pressing the edge in to the middle of the rectangle. Then you're going to take the other side, bring it up and over the middle and firmly press it down the side of the dough. You should have a nice rectangular, loaf looking thing. Place this seem side down in the loaf pan. Obviously repeat this for the other one.
- Cover your loaf pans with plastic wrap and set aside to rise again. You want them to rise just a touch above the edge of your pan. Or more, that's cool too... overachiever.
- 30 minutes before their final rise is complete, preheat the oven to 425°. Please the pans in the oven for 15 minutes.
- Reduce oven temperature to 350° and swap pans to balance the baking. Bake for another 30 minutes.
- Remove the loaf pans from the oven and carefully transfer the bread to a cooling rack for at least 45 minutes.


Ive used this recipe for a very long time. It makes a very good, simple loaf of bread. Bread always comes out better when it isn’t rushed. Growing up in a self sustaining household taught me lessons I have carried into “city” life. Patience in the kitchen often yields something more amazing, more nutritious. I”m glad you have discovered the power of patience.