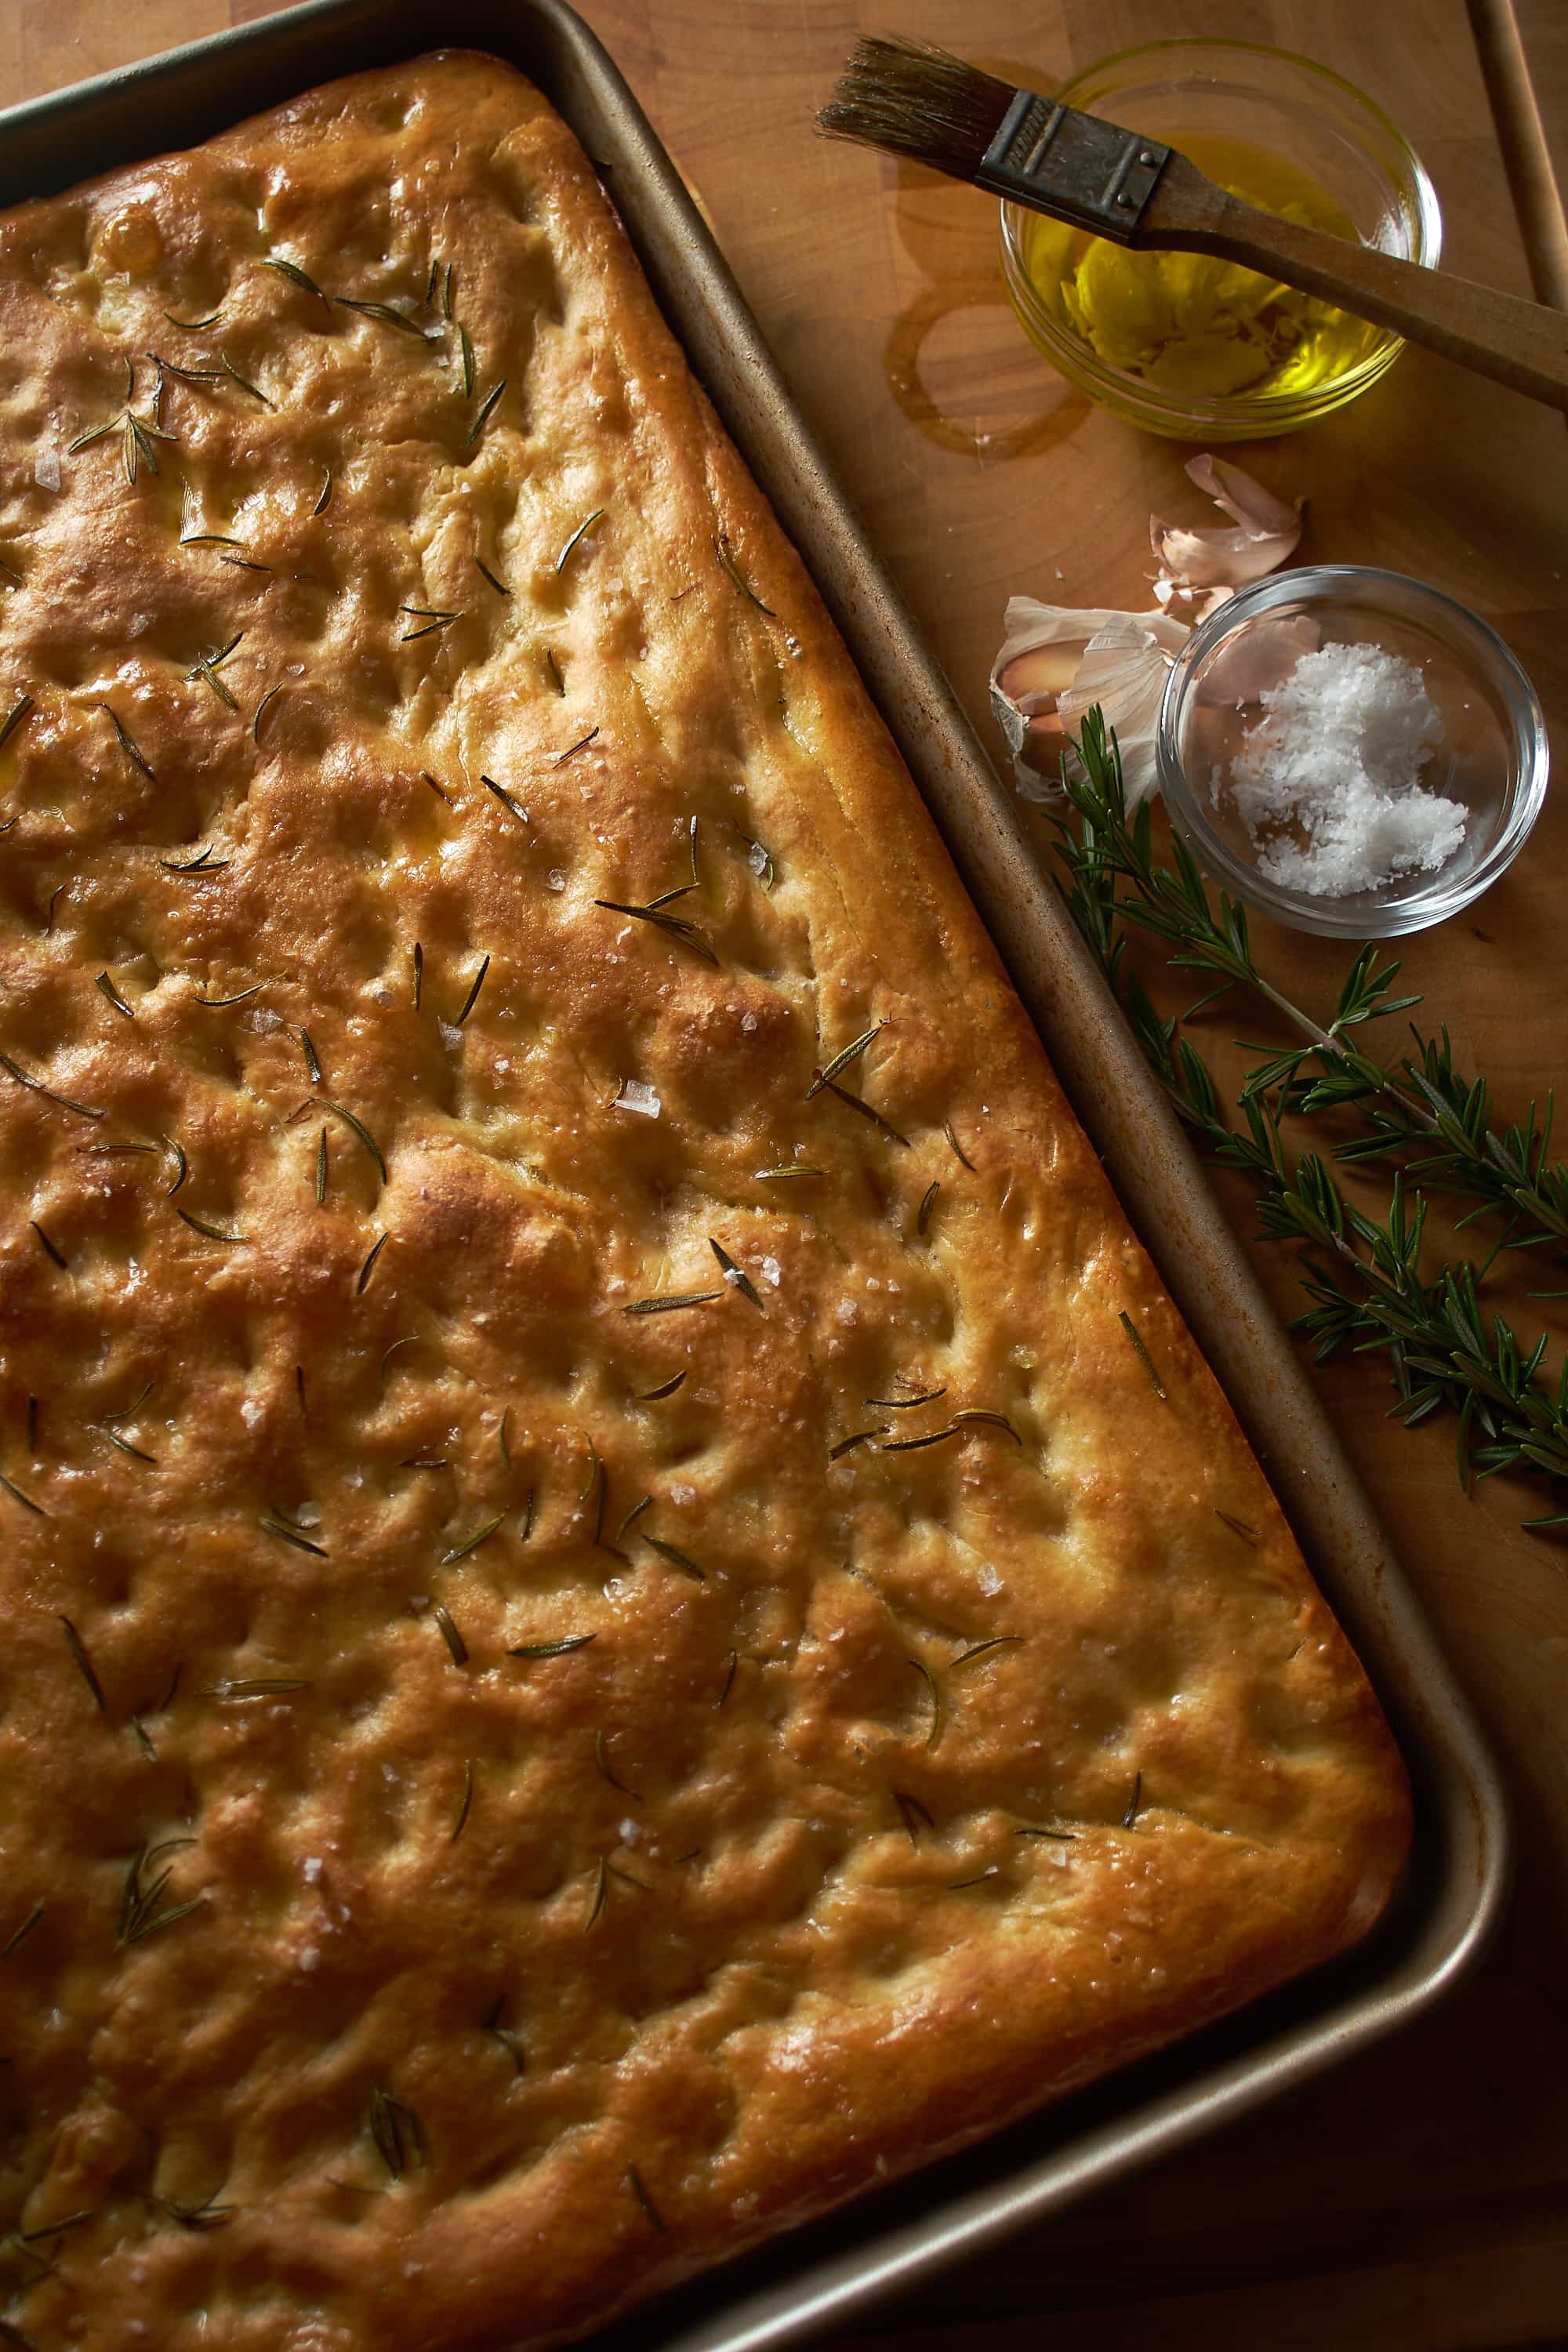
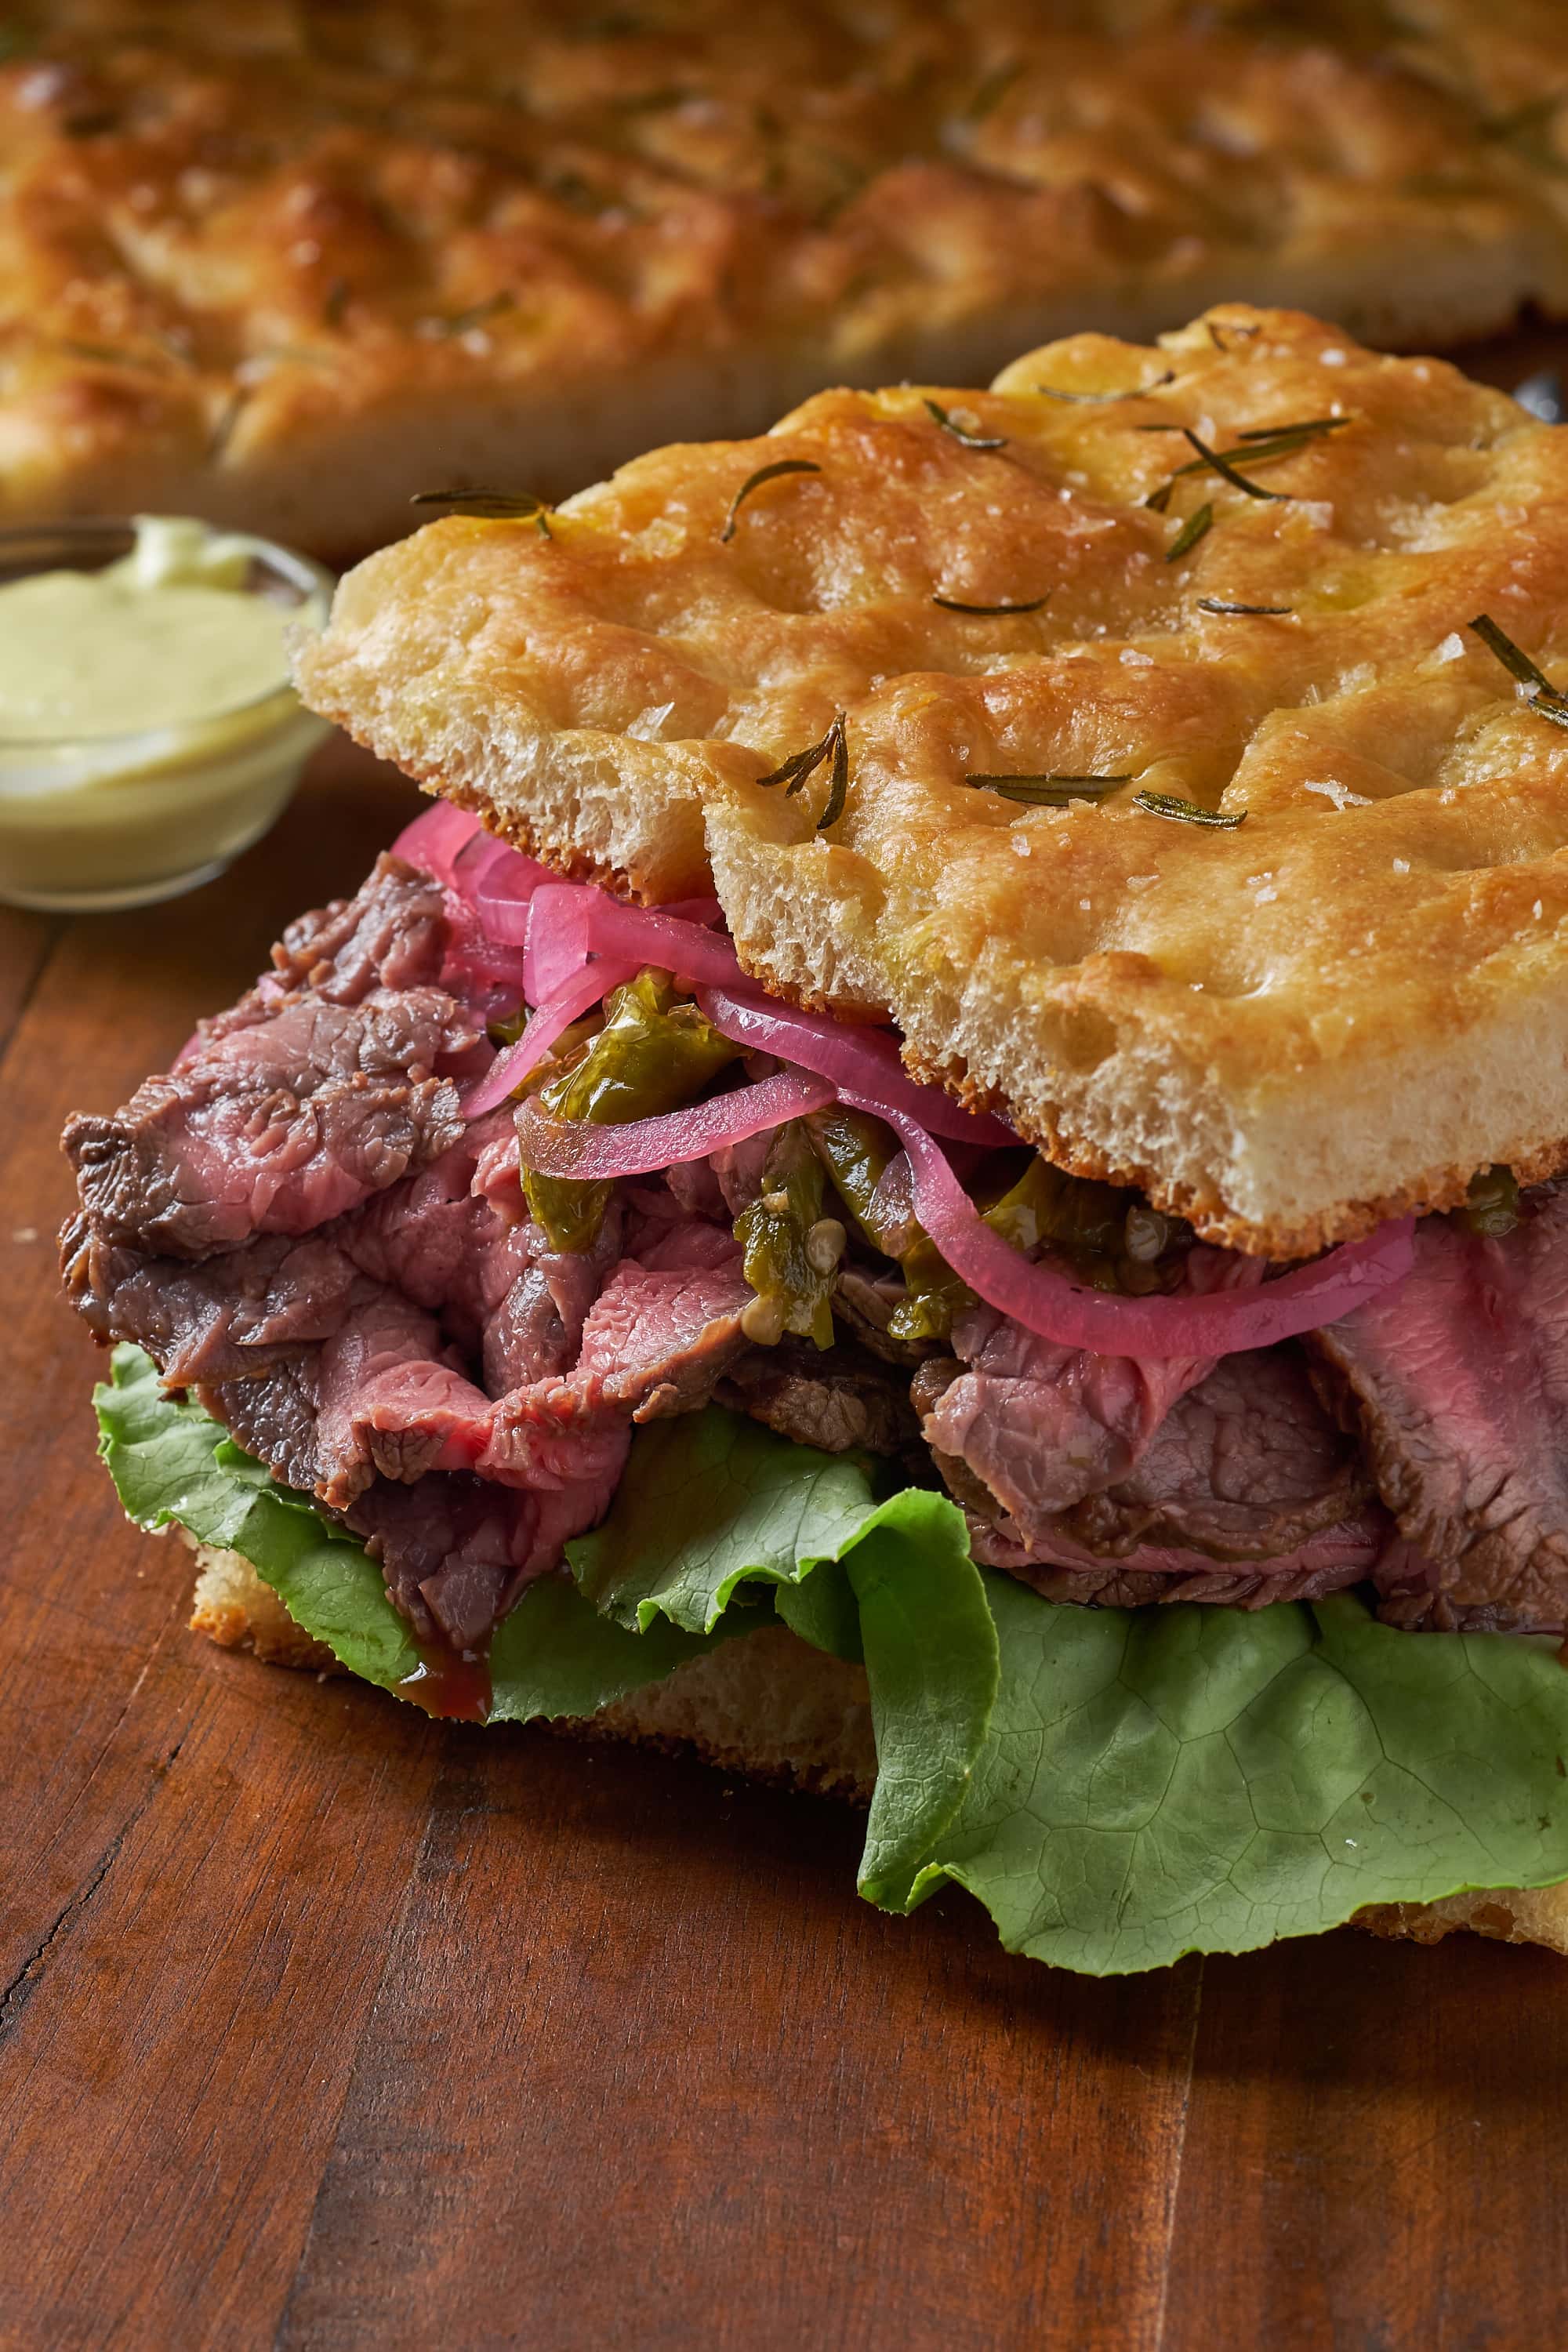
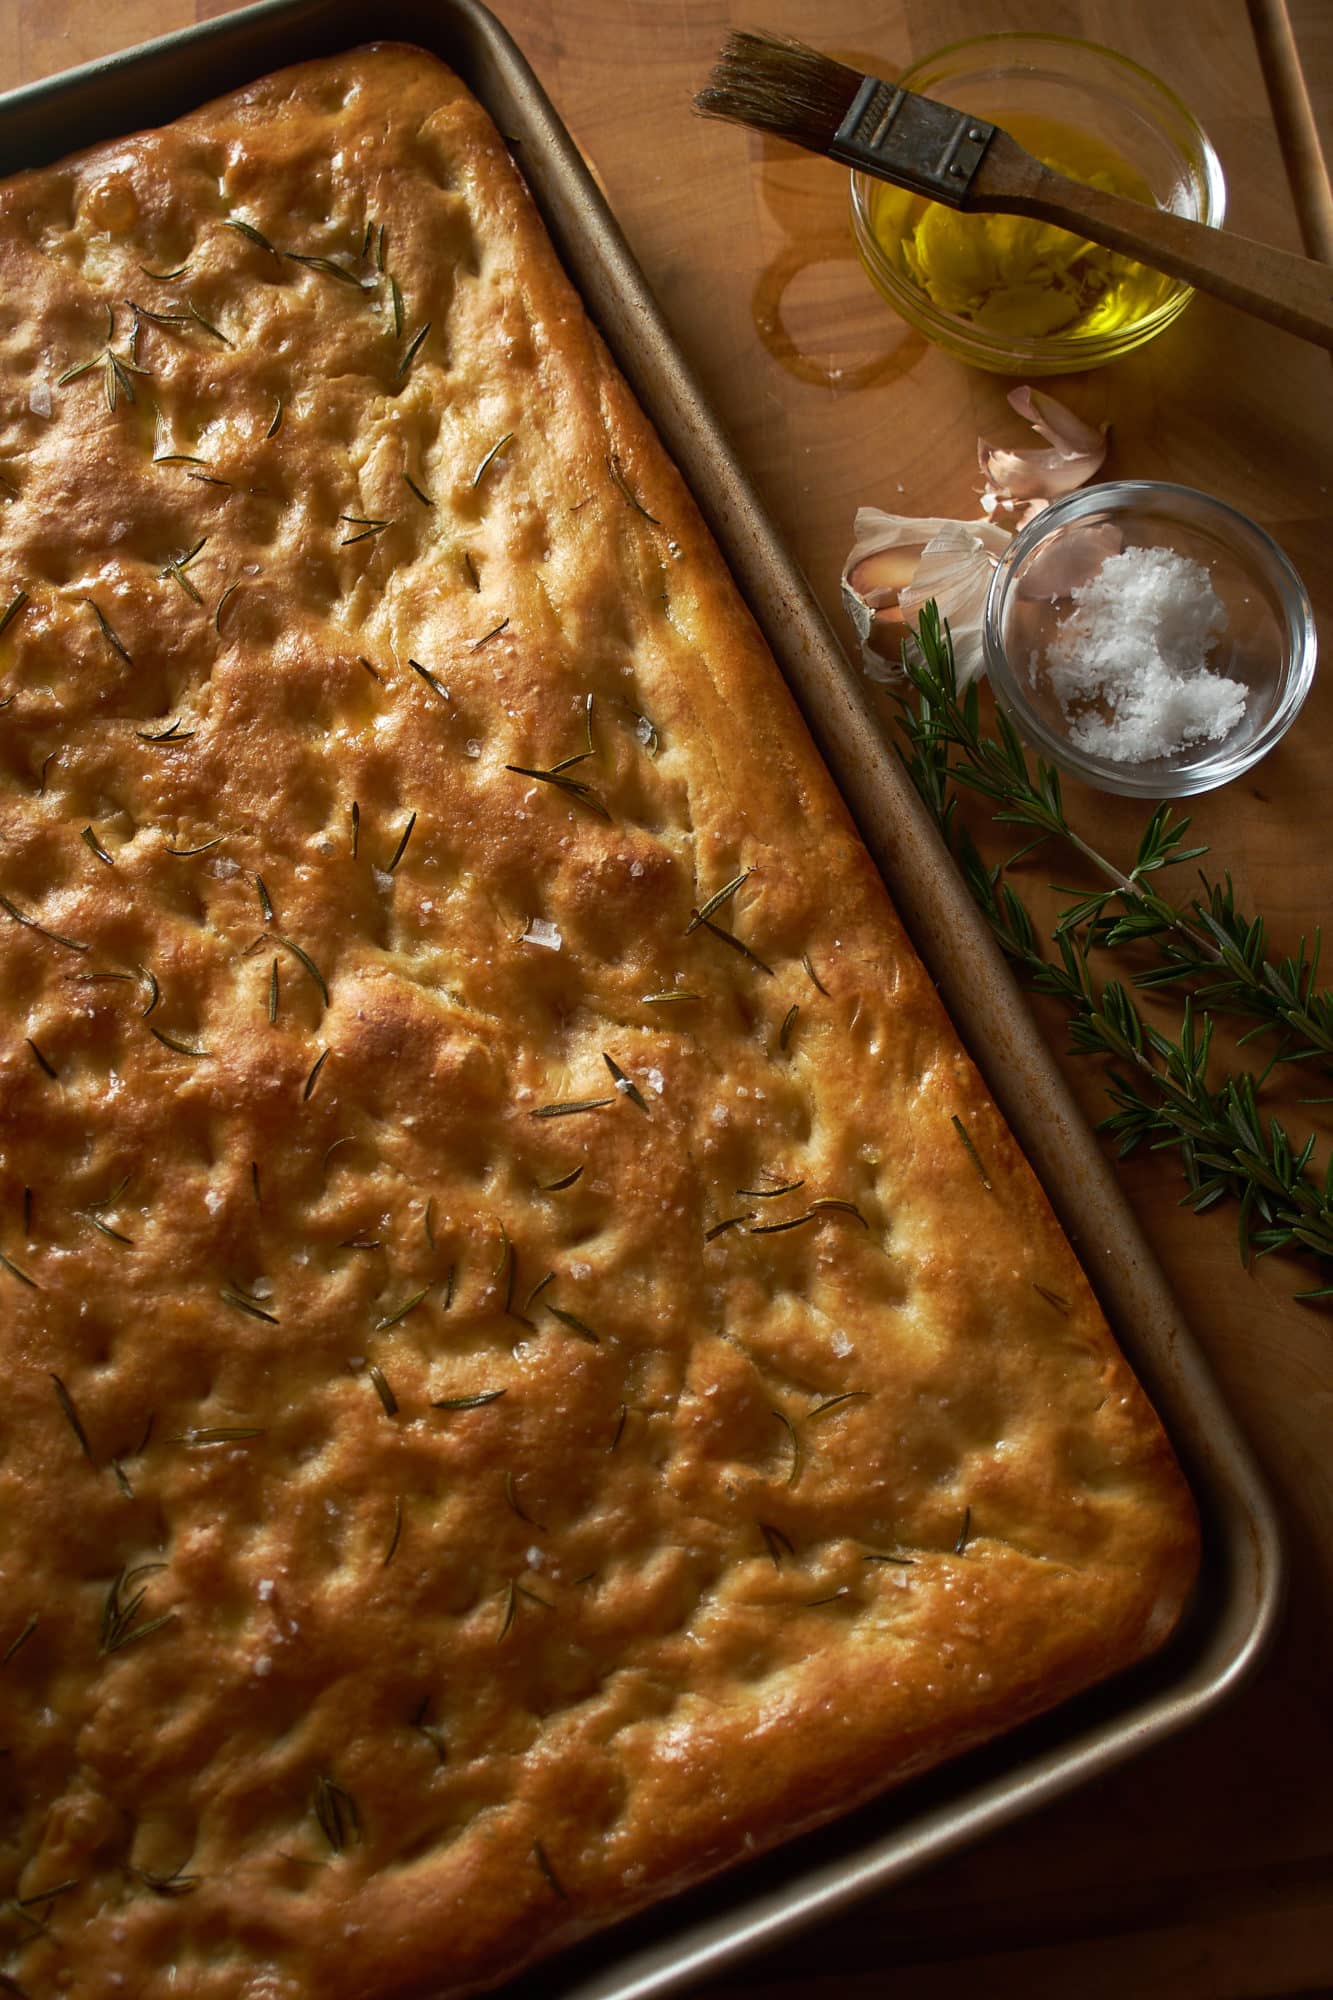
Like any good homemade bread or pizza, Homemade Rosemary Focaccia is fairly effortless. Especially if you have a stand mixer. The most important ingredient is time.
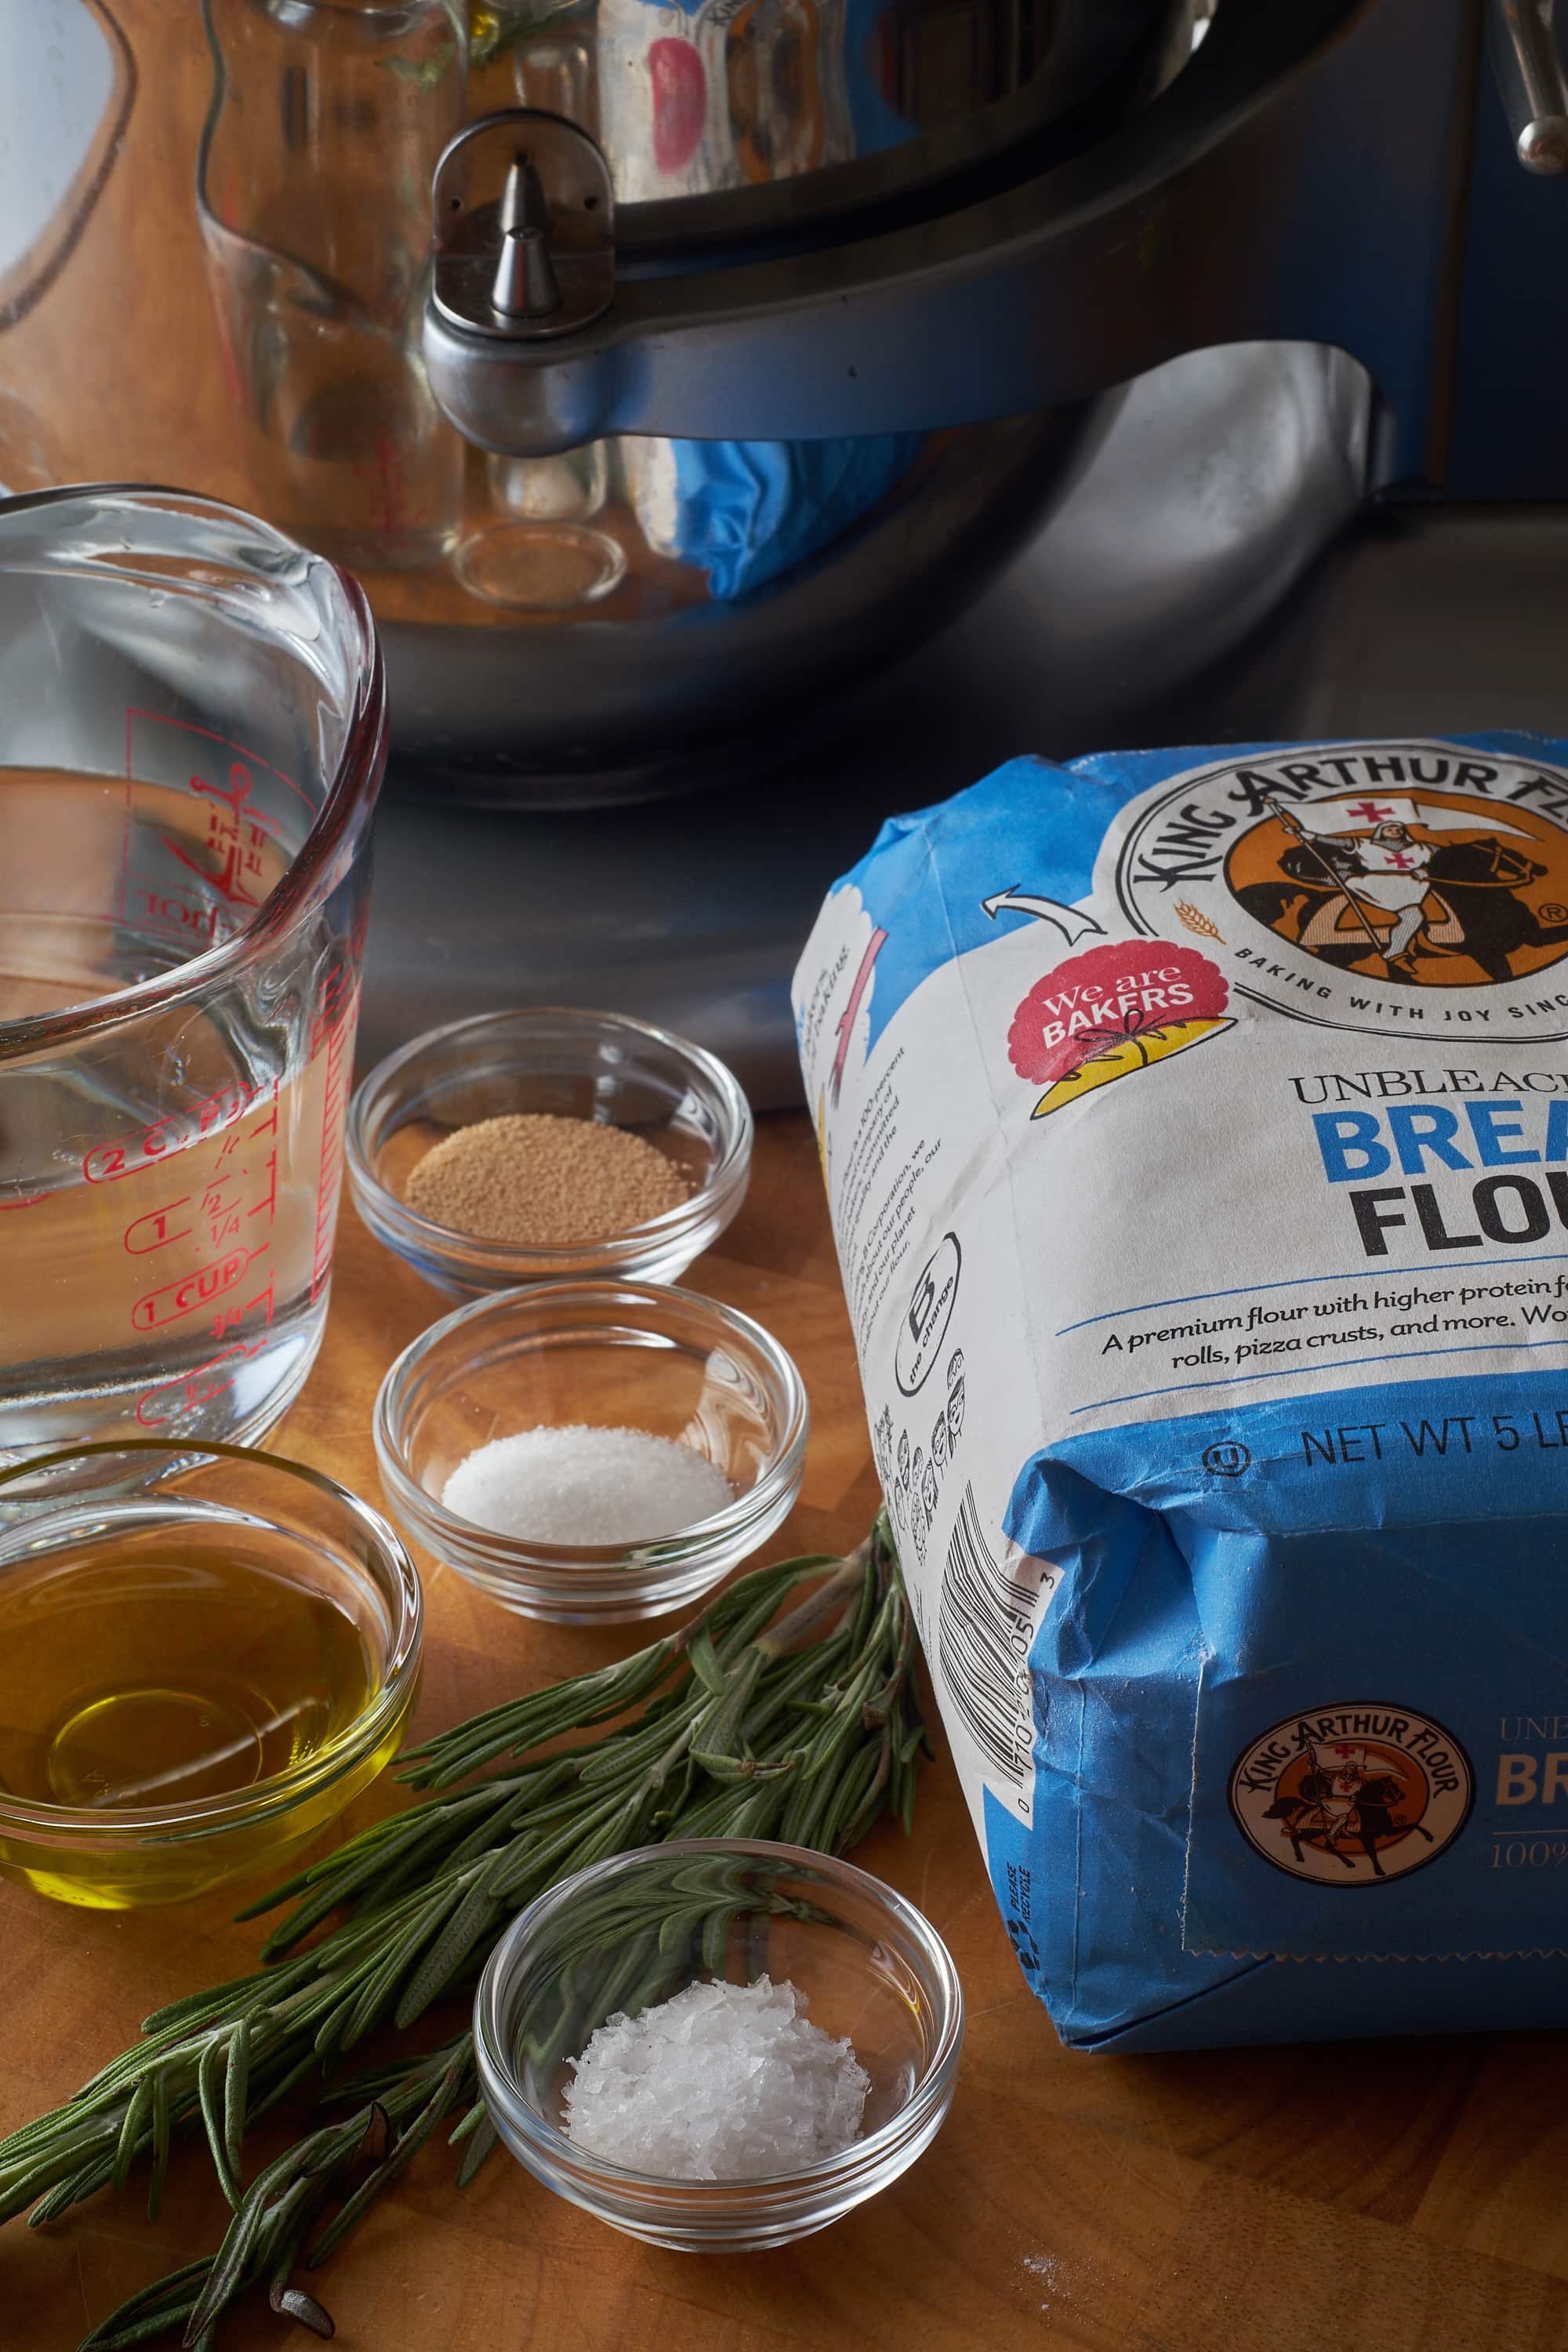
Focaccia can be made a few different ways for a few different purposes. It can be thin and sturdy like a pizza and it can be tall and fluffy like a bread. Either way you can really put any ingredients you want on it. Just like pizza, there’a lot of flexibility to enjoy it however you’d like. You just have to know how to tweak the ingredients. The most important of all is time.
I set out to make a thin and chewy salty rosemary focaccia to make some London Broil Sandwiches. This sandwich was going to be epic! I was so excited that I made all my favorite condiments and toppings the day before. Roasted Long Hots, Garlic Aioli, grated Asiago and Pickled Red Onions. Meanwhile I had the London Broil marinating for something like 12 hours.
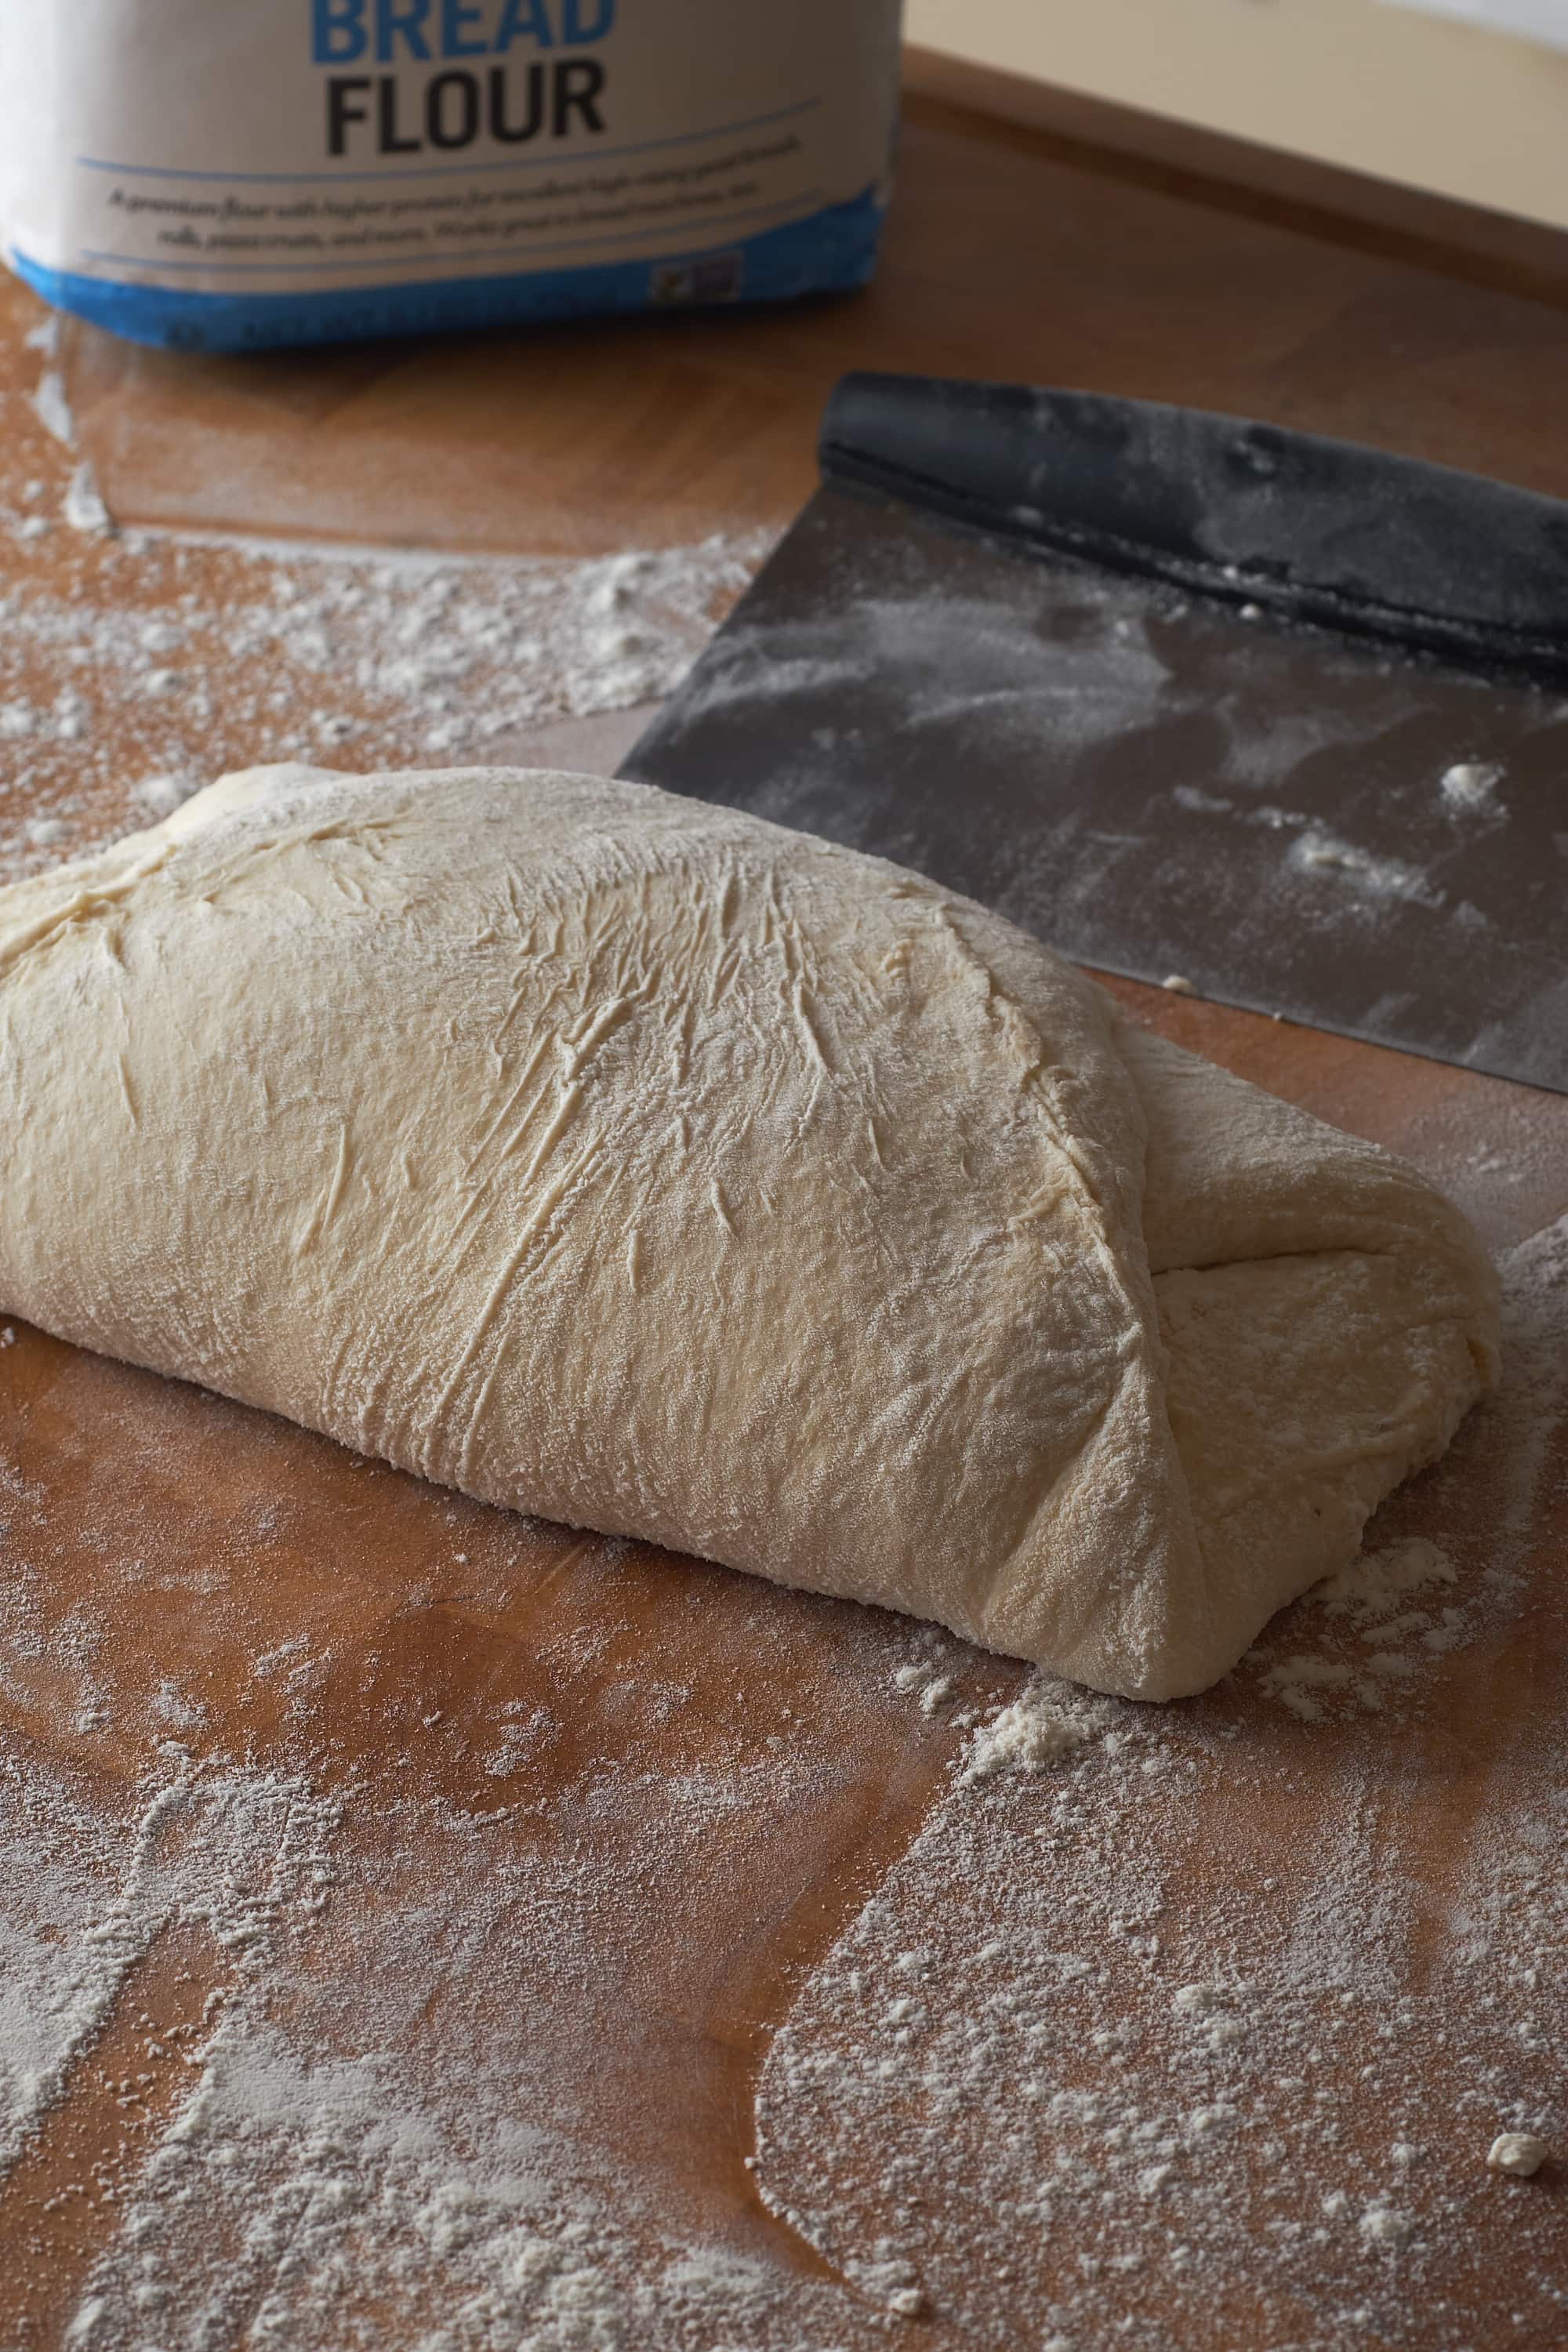
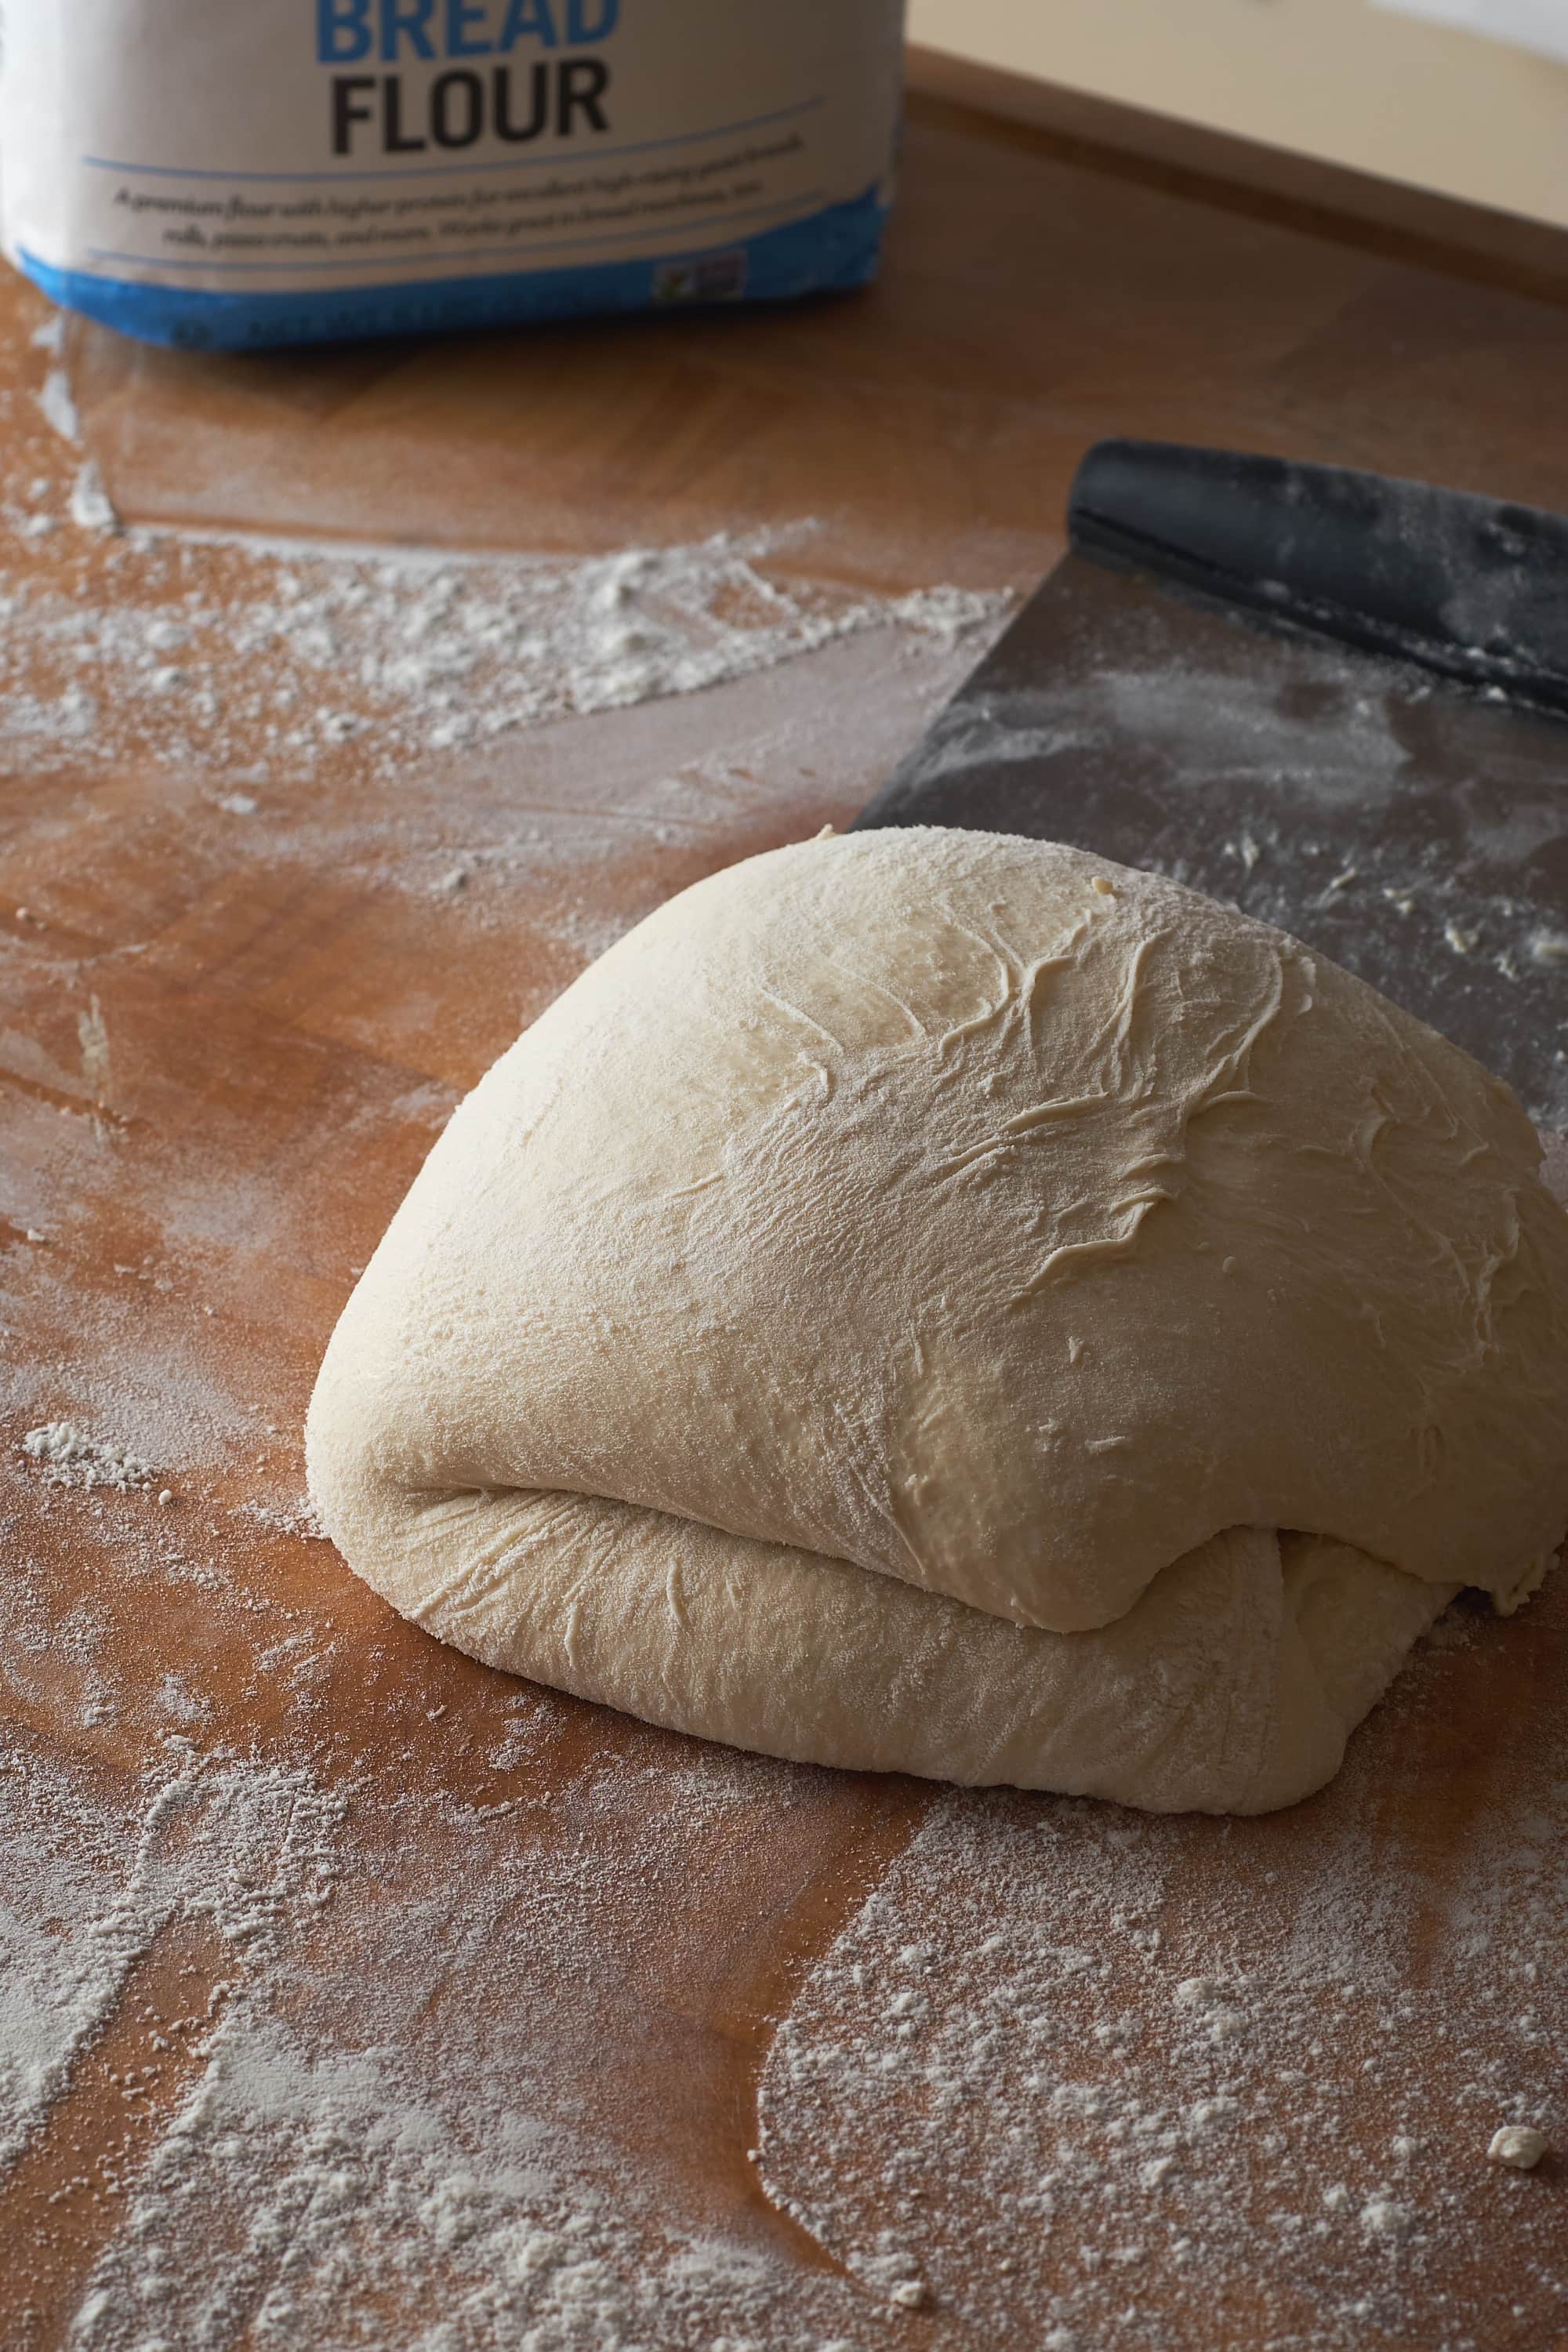
The hydration for this Focaccia dough is a little high at around 80%. “Hydration” is the ratio of wet ingredients to dry ingredients. So we’re using 372 grams of water to 480 grams of flour. Eighty percent hydration can be a little difficult to work with because it’s really sticky. Using a stand mixer with a dough hook attachment makes super easy work of kneading the dough. Once you have your yeast proofed in 105°F water you can add it and the olive oil to the flour and mix for a couple minutes on low speed to incorporate. When it starts coming together put it on medium high and let it rip for a good ten minutes. The dough should look like a batter and never really form a ball.
Turn the dough out to a lightly floured surface using a flexible bench scraper or silicone spatula. Dust it with a bit of flour and use a metal bench scraper to push it around in to a ballish form. Next we’re going to do two ‘letter folds’. A letter fold is like when you fold a letter in thirds to stuff it in an envelope. We’re going to do that on the X and Y axis. This takes a little practice to get a feel for it but it’s really easy once you do. Position yourself so the dough is directly in front of you and you’re holding the bench scraper (fingers down, thumb up) at about the 1 o’clock position. Firmly press the metal scraper on the counter top as you swiftly scrape it beneath the dough. If you’re having difficulty with this you may want to use a little more flour under and around the dough. As you reach about half way under the dough you want to abruptly pull back-and-up to stretch the dough up-and-away from the center as you fold it over itself. It’s all one quick motion and it’s a lot fun! Now, repeat that for the bottom and then do the same for the left and right sides. How’d you do?? Great! Now carefully flip the dough seem side down. Lightly brush or spray some plastic wrap with oil and lay it over the dough. Allow it to rest for 45 minutes then repeat the process.
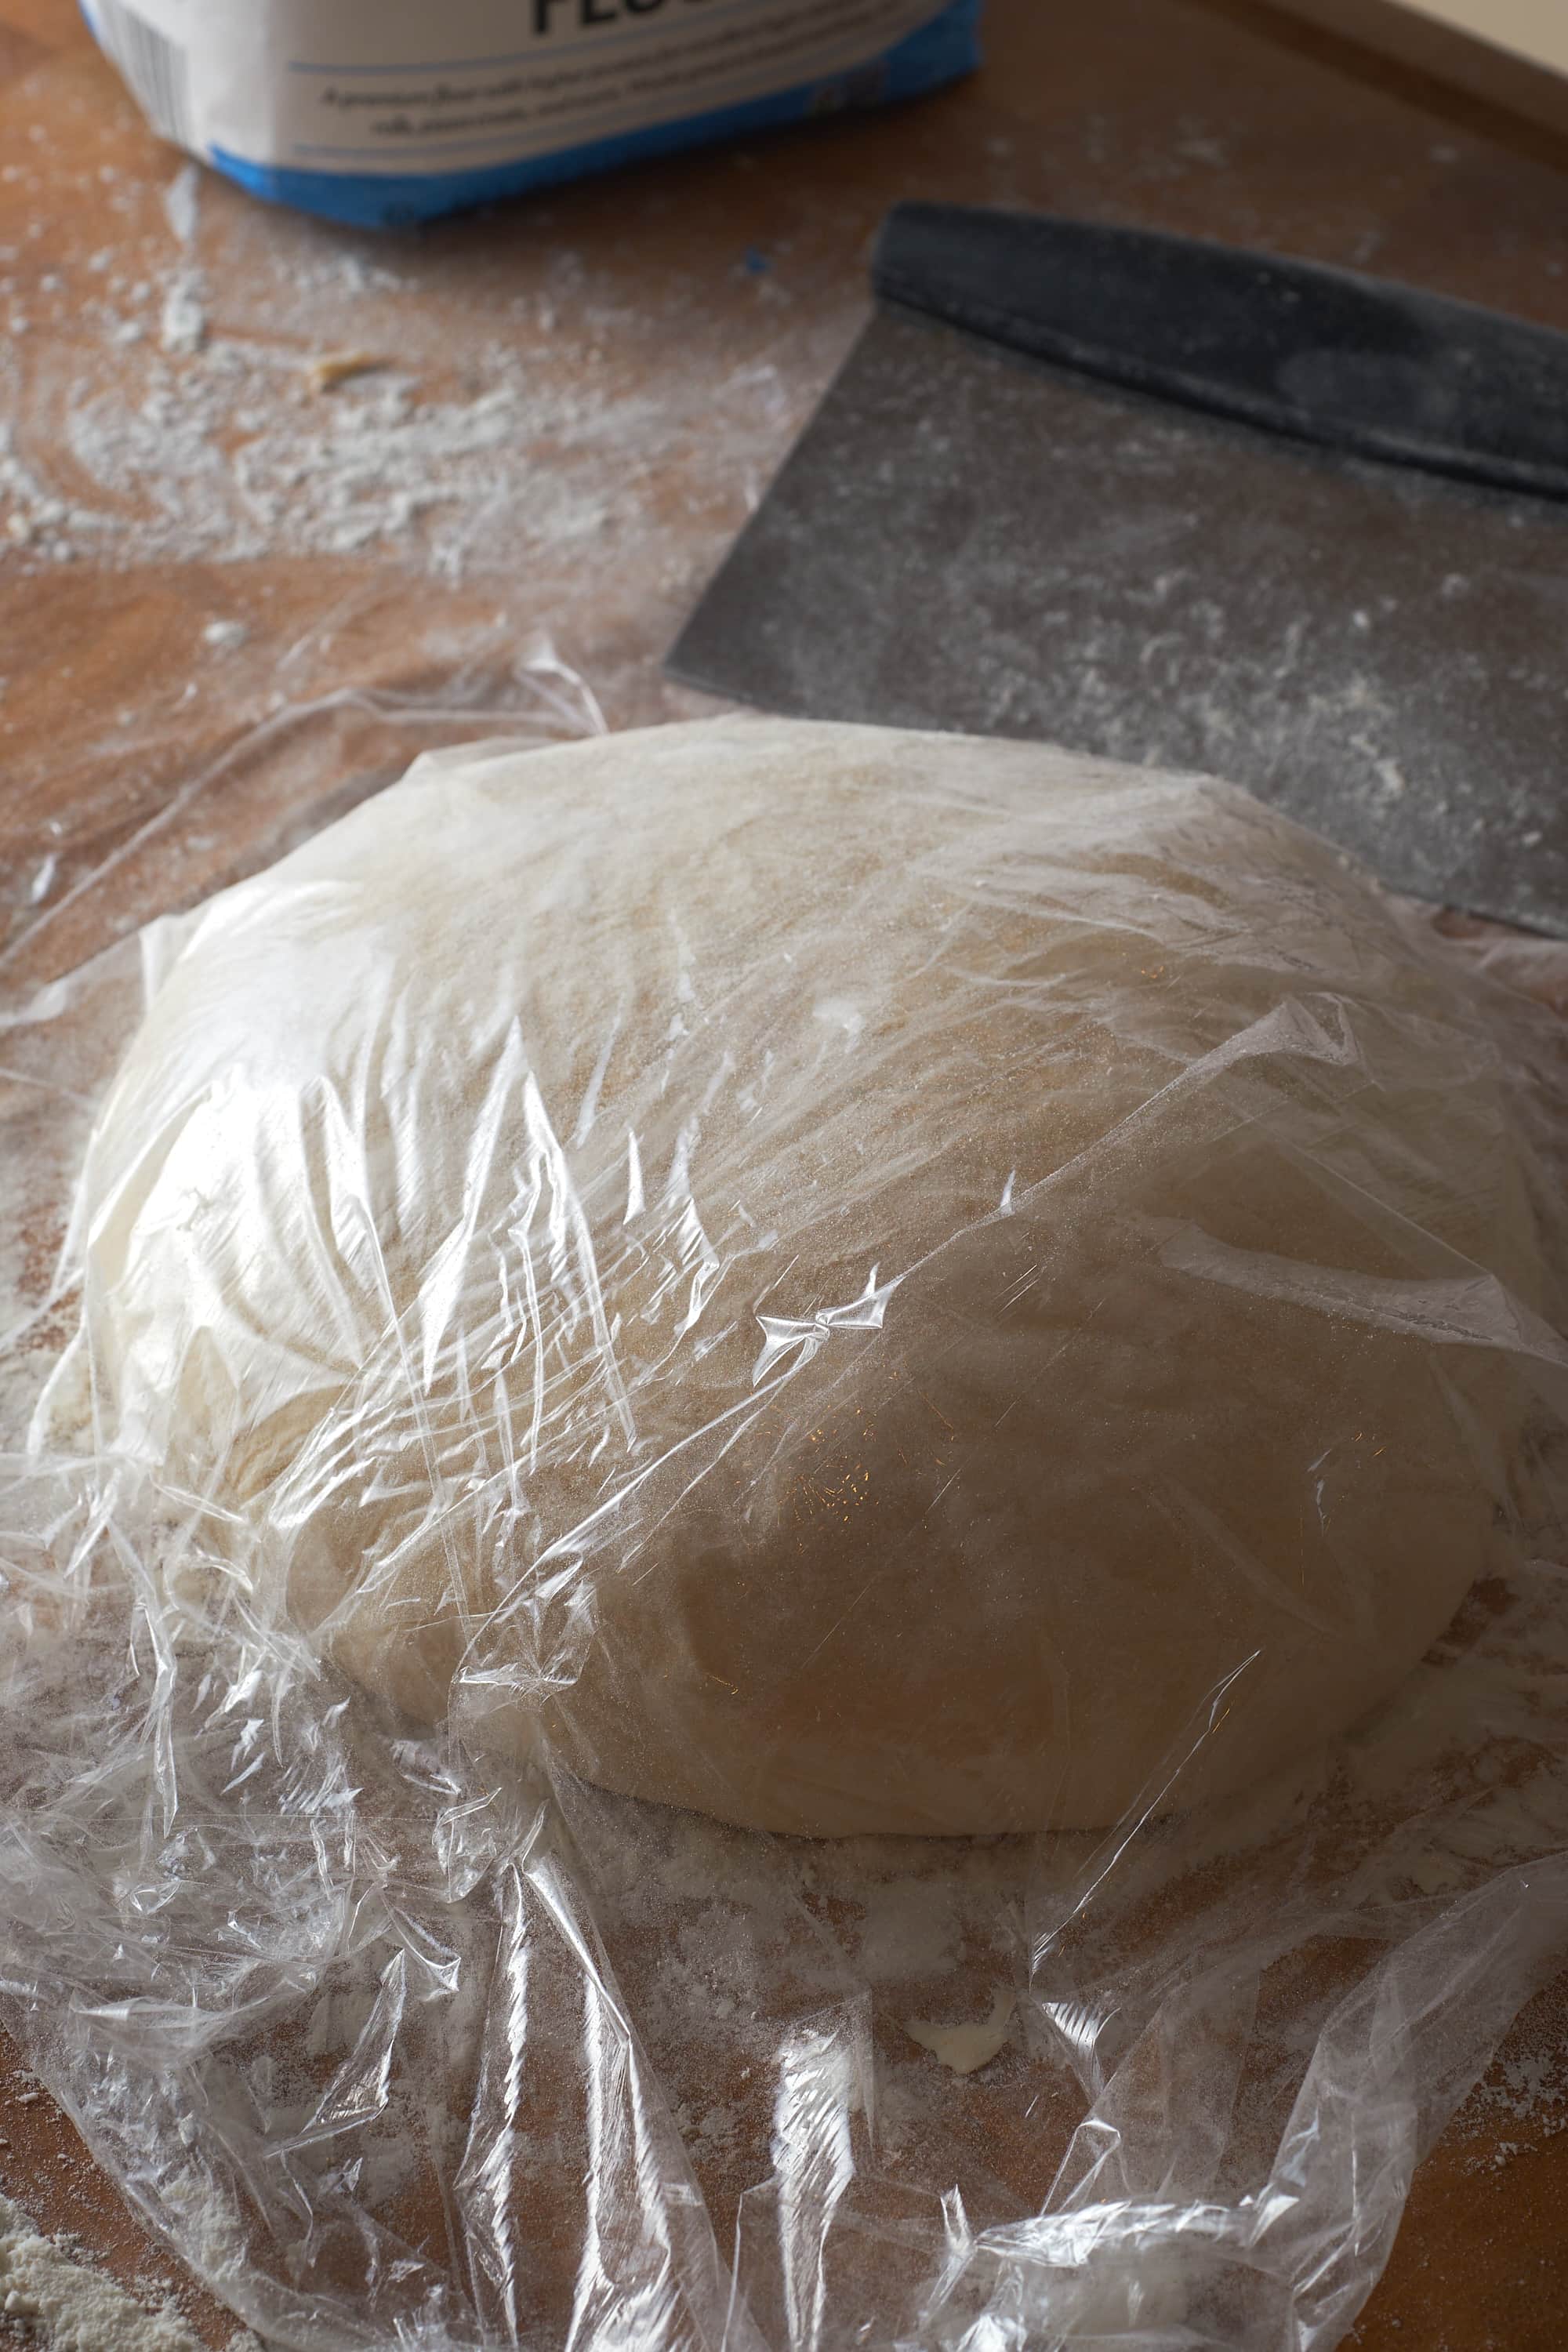
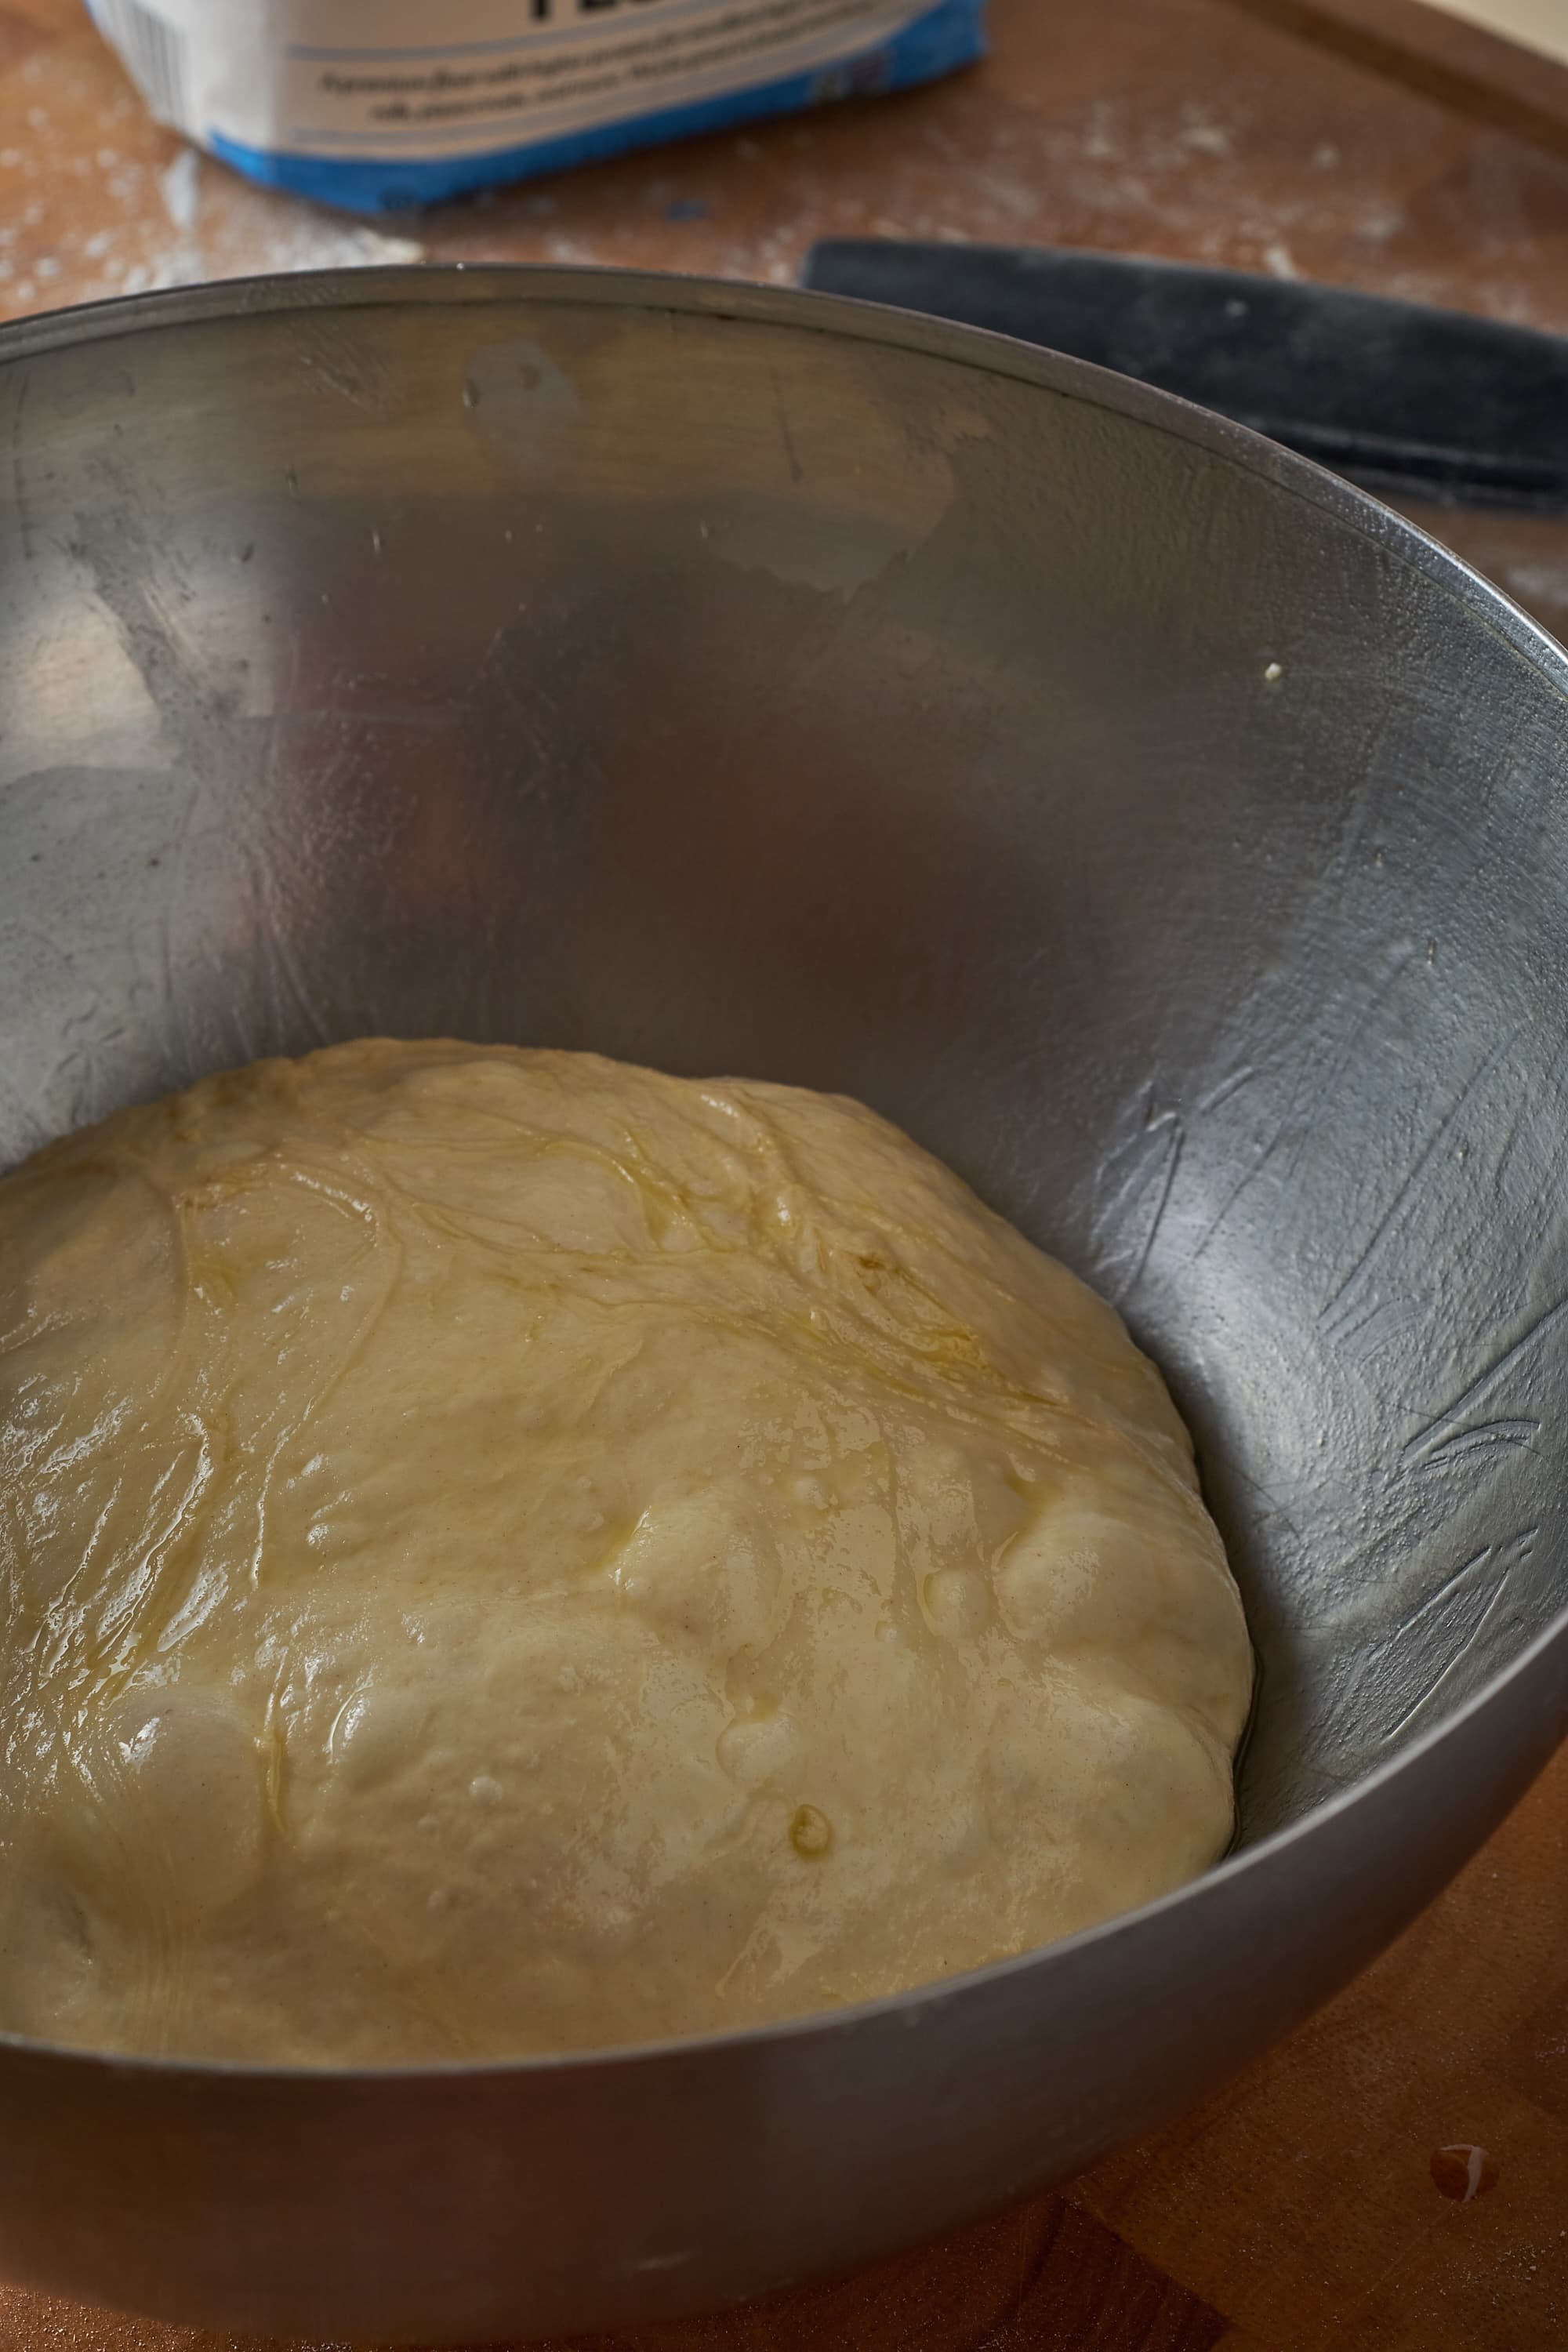
You’ll notice that we aren’t really kneading this dough. We’ve whipped it around in a stand mixer and we’ve given it a few interesting folds over top itself. This is how you handle higher hydration doughs. I found them to be really tricky and frustrating when I started out but now I actually prefer them. We’re using low effort techniques of stretching wet dough to build gluten over time rather than muscling around dryer dough. This process if allowing gluten to form over time not only builds better flavor, it also promotes more gas. More gas means a lighter fluffier bread. We want to avoid dense dough from the start when adding as much olive oil and salt as we’ll be using.
Add a tablespoon of olive oil to a large mixing bowl and transfer the dough to it seam side up. Flip the dough over, seam side down, and cover with plastic wrap. Allow to rise for 2 hours. If it doubles in size within an hour just give it a punch to deflate the gas. At some point you’ll want lightly brush a 13×18″ sheet pan with olive oil.
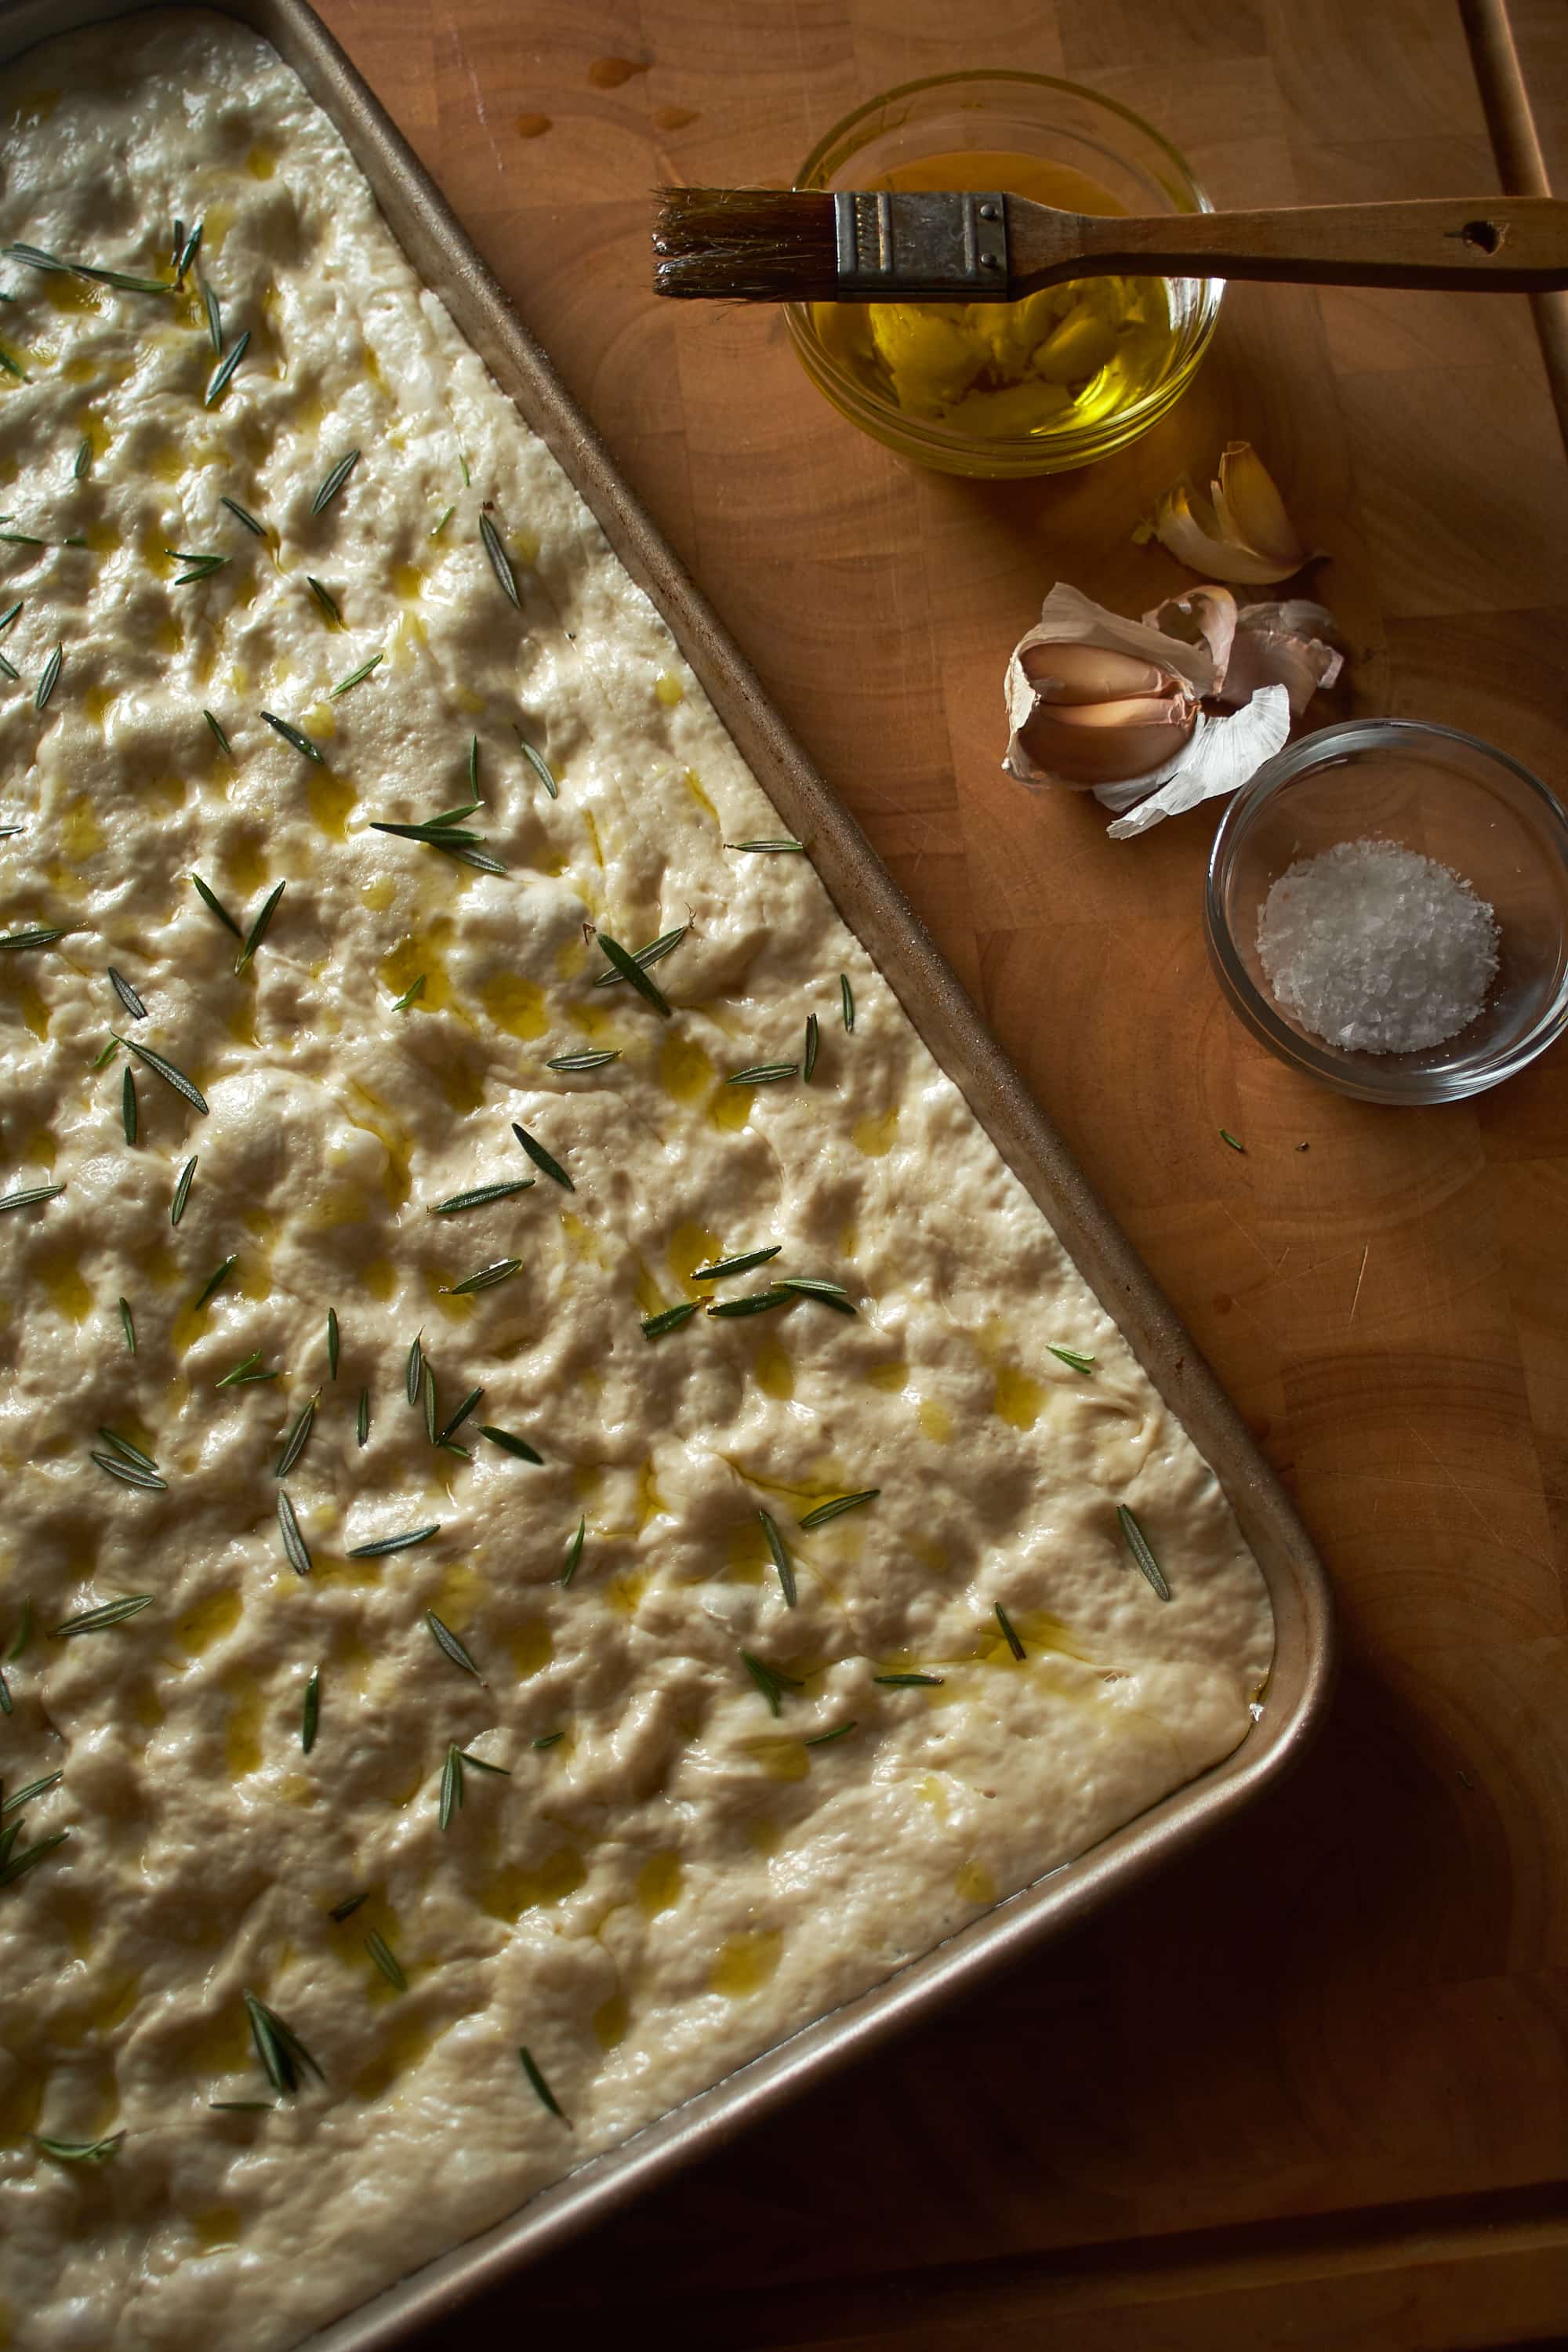
After the dough has risen you can dump it out to the sheet pan. The oil should help with stretching the dough all the way to the edges of the pan. If it starts to tear or isn’t stretching nicely just give it 5 – 10 minutes to relax and try again. Allow the dough to double in size uncovered for about 30 minutes. Preheat your oven to 450°F. Wet your finger tips and poke holes in the dough. Again, allow the dough to double in size for about 30 minutes. Add fresh rosemary and flaky sea salt and drizzle about 2 teaspoons of olive oil over the top. Transfer the sheet pan to the over and bake for about 20-25 minutes or until golden brown. Brush the Focaccia with olive oil and sprinkle with more sea salt as soon as it comes out of the oven. Remove from the sheet pan with a couple spatulas and let it cool completely before cutting.
This is a pretty standard Rosemary Focaccia recipe. It’s a medium thickness with just enough airiness to make sandwiches out of. If you wanted it a little thicker and breadier you could use a little less salt and oil in the dough and give the final pan rise another 30 minutes. My first effort came out really good but not sandwich worthy. The recipe was very similar but I let it cook for 45 minutes. This yielded a more cracker-like Focaccia. This would be really good cut up in to little squares and served with cheese and meats and pesto. Oh, to cut the Focaccia I recommend a pizza wheel. It just feels like the right tool to use.
