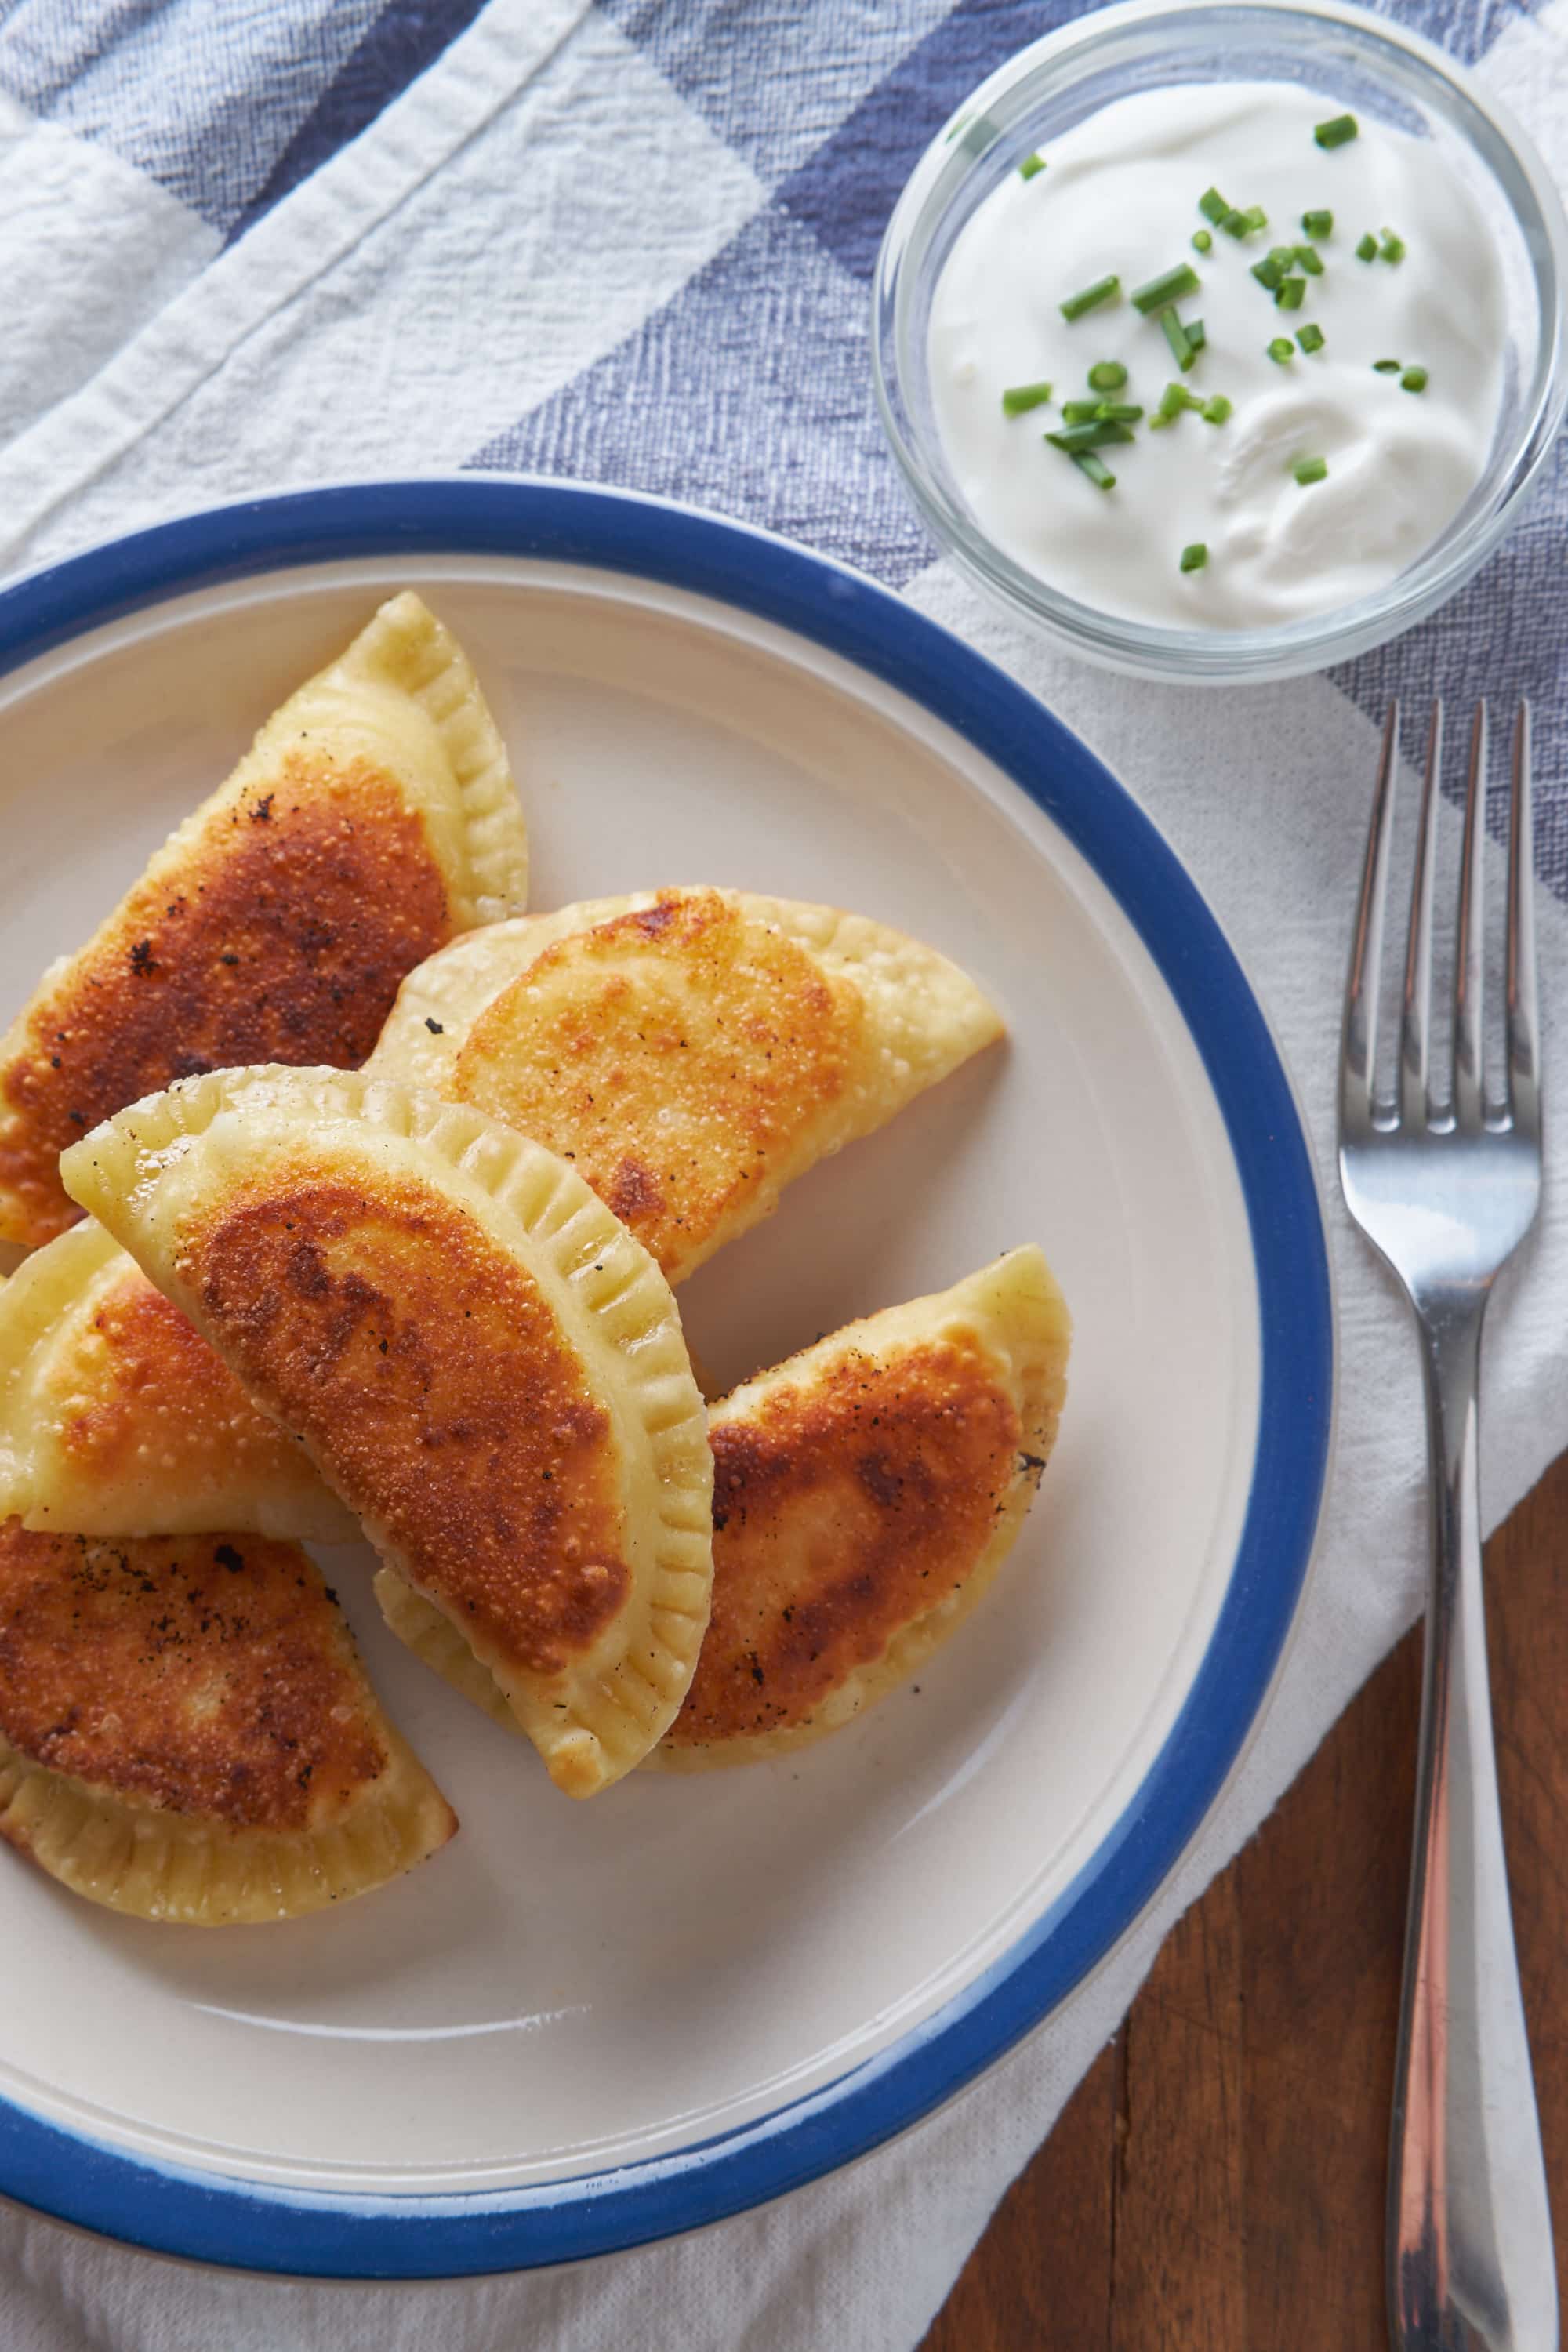
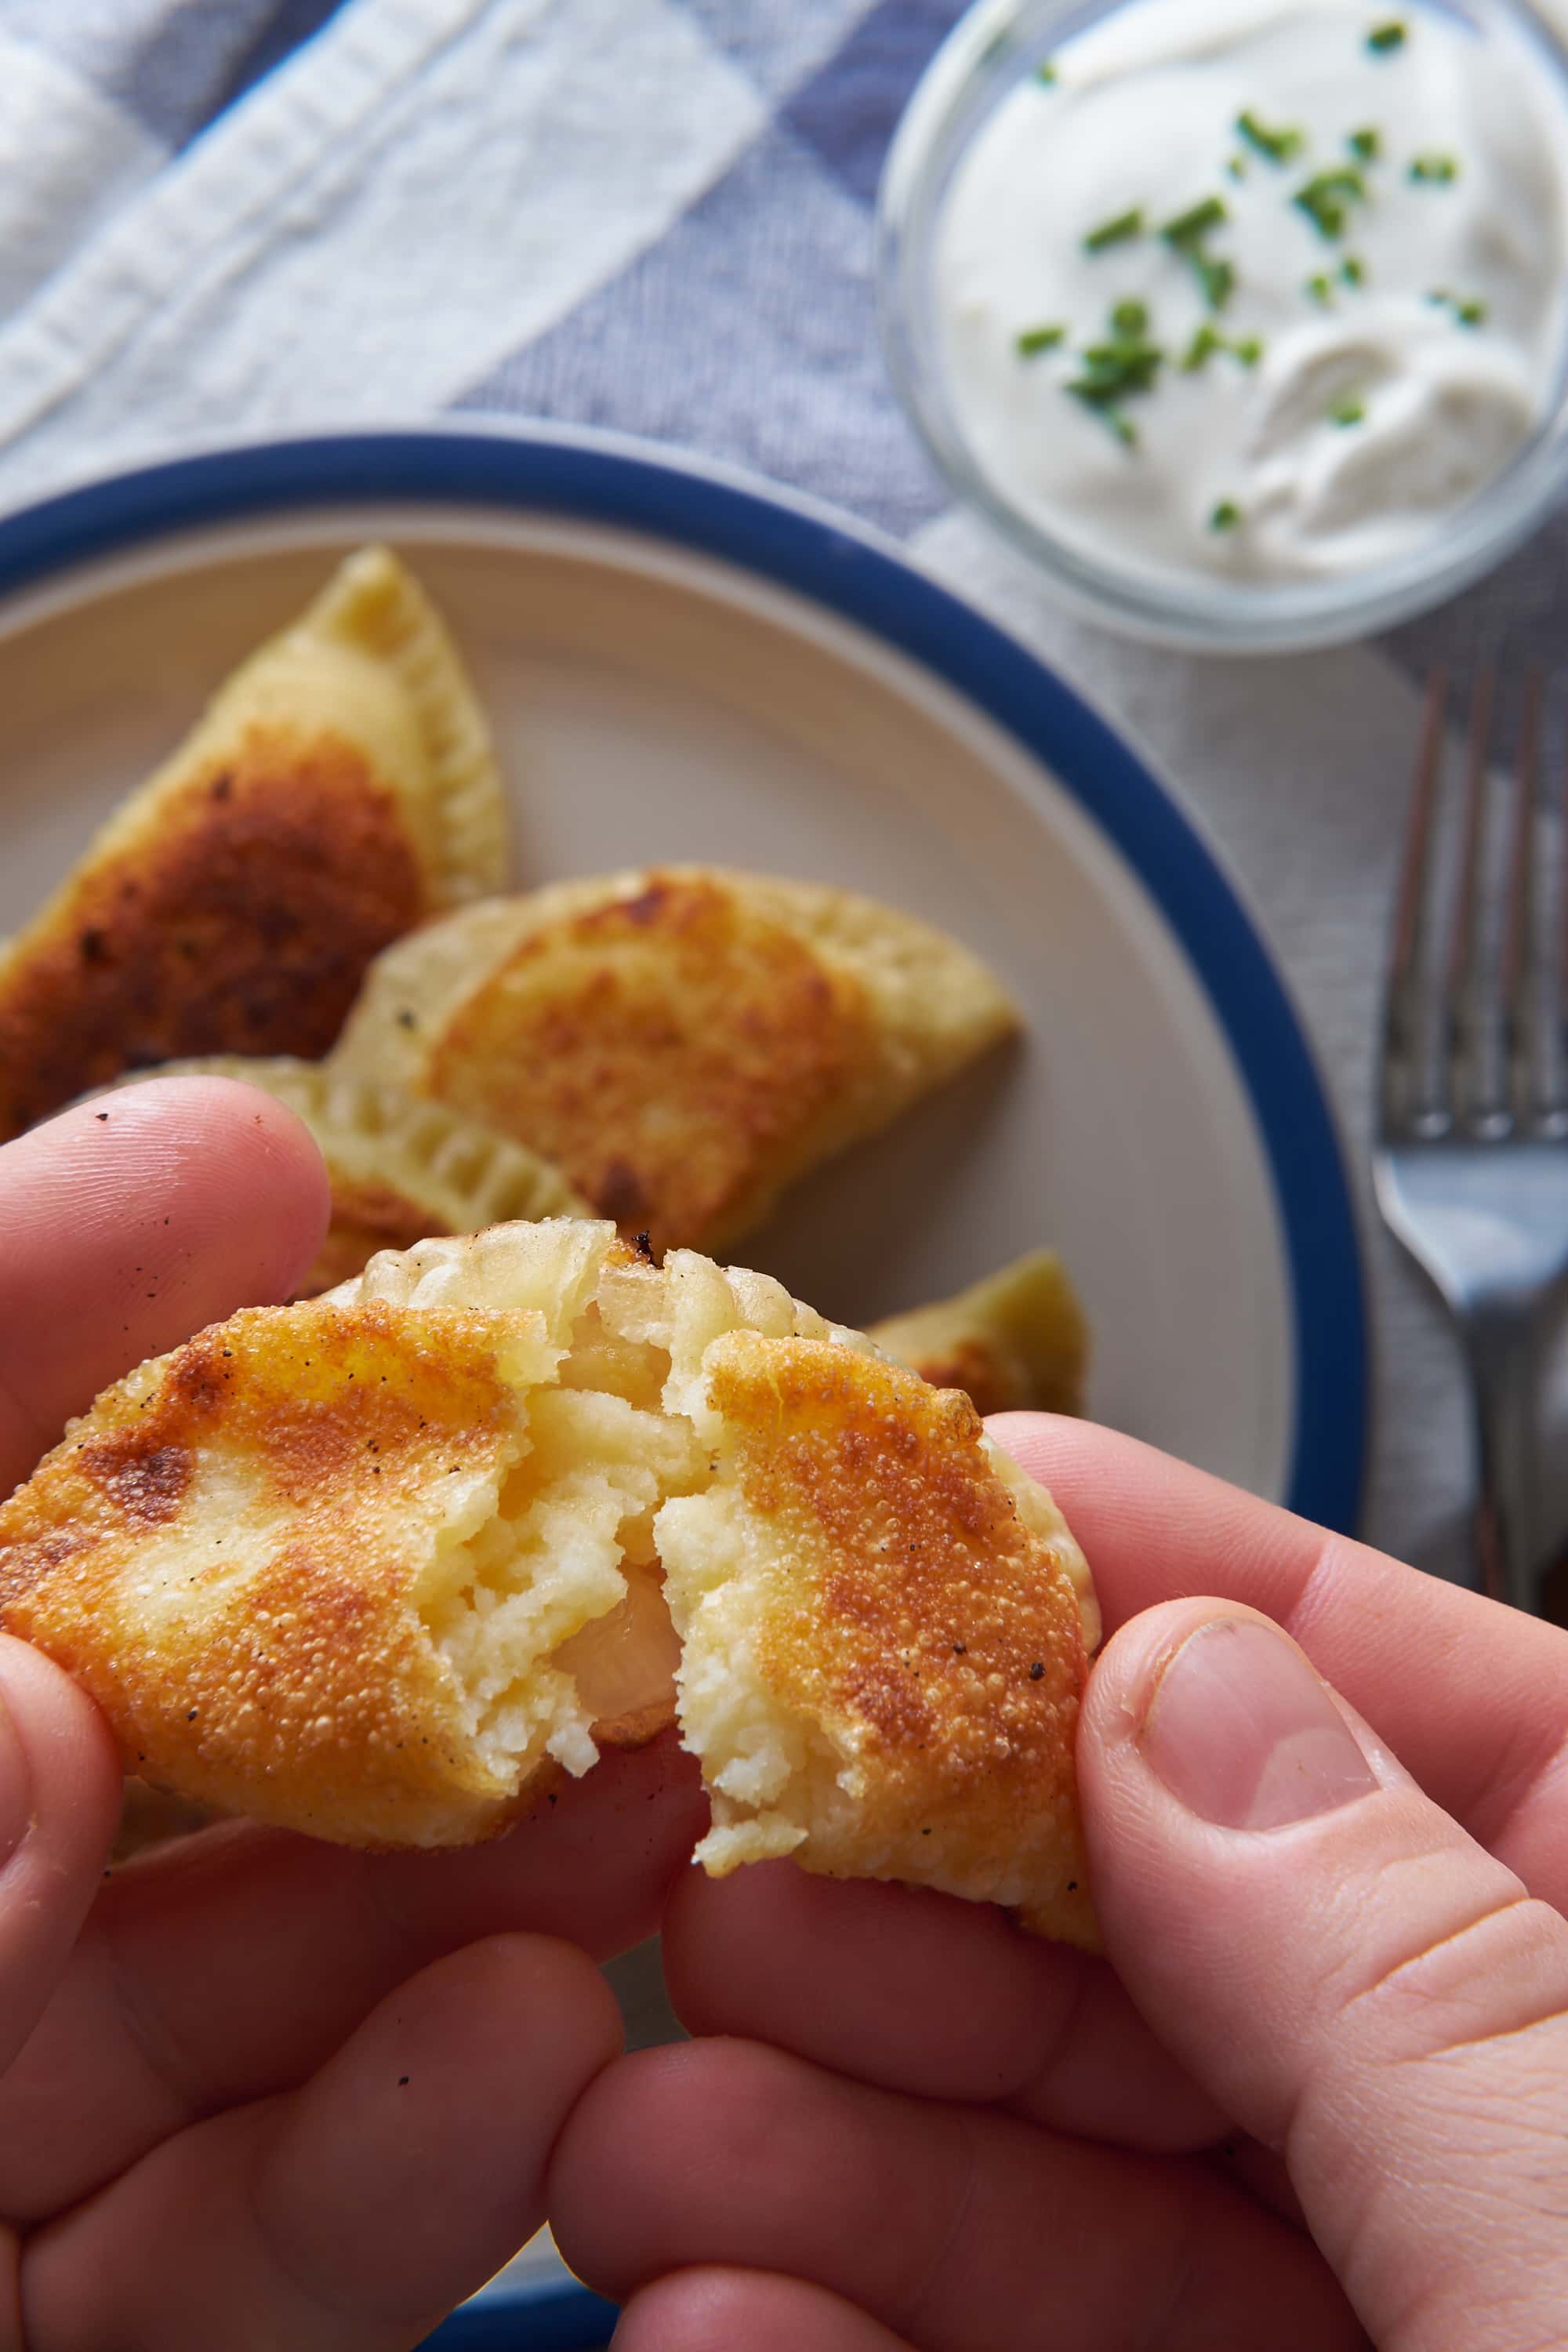
These pan fried potato, onion, and cheese Pierogi are one of the most satisfying recipes I’ve made recently. They’re great to have on the coffee table to snack on during the game. If you’re unsure about folding your own Pierogi check the video included in this post.
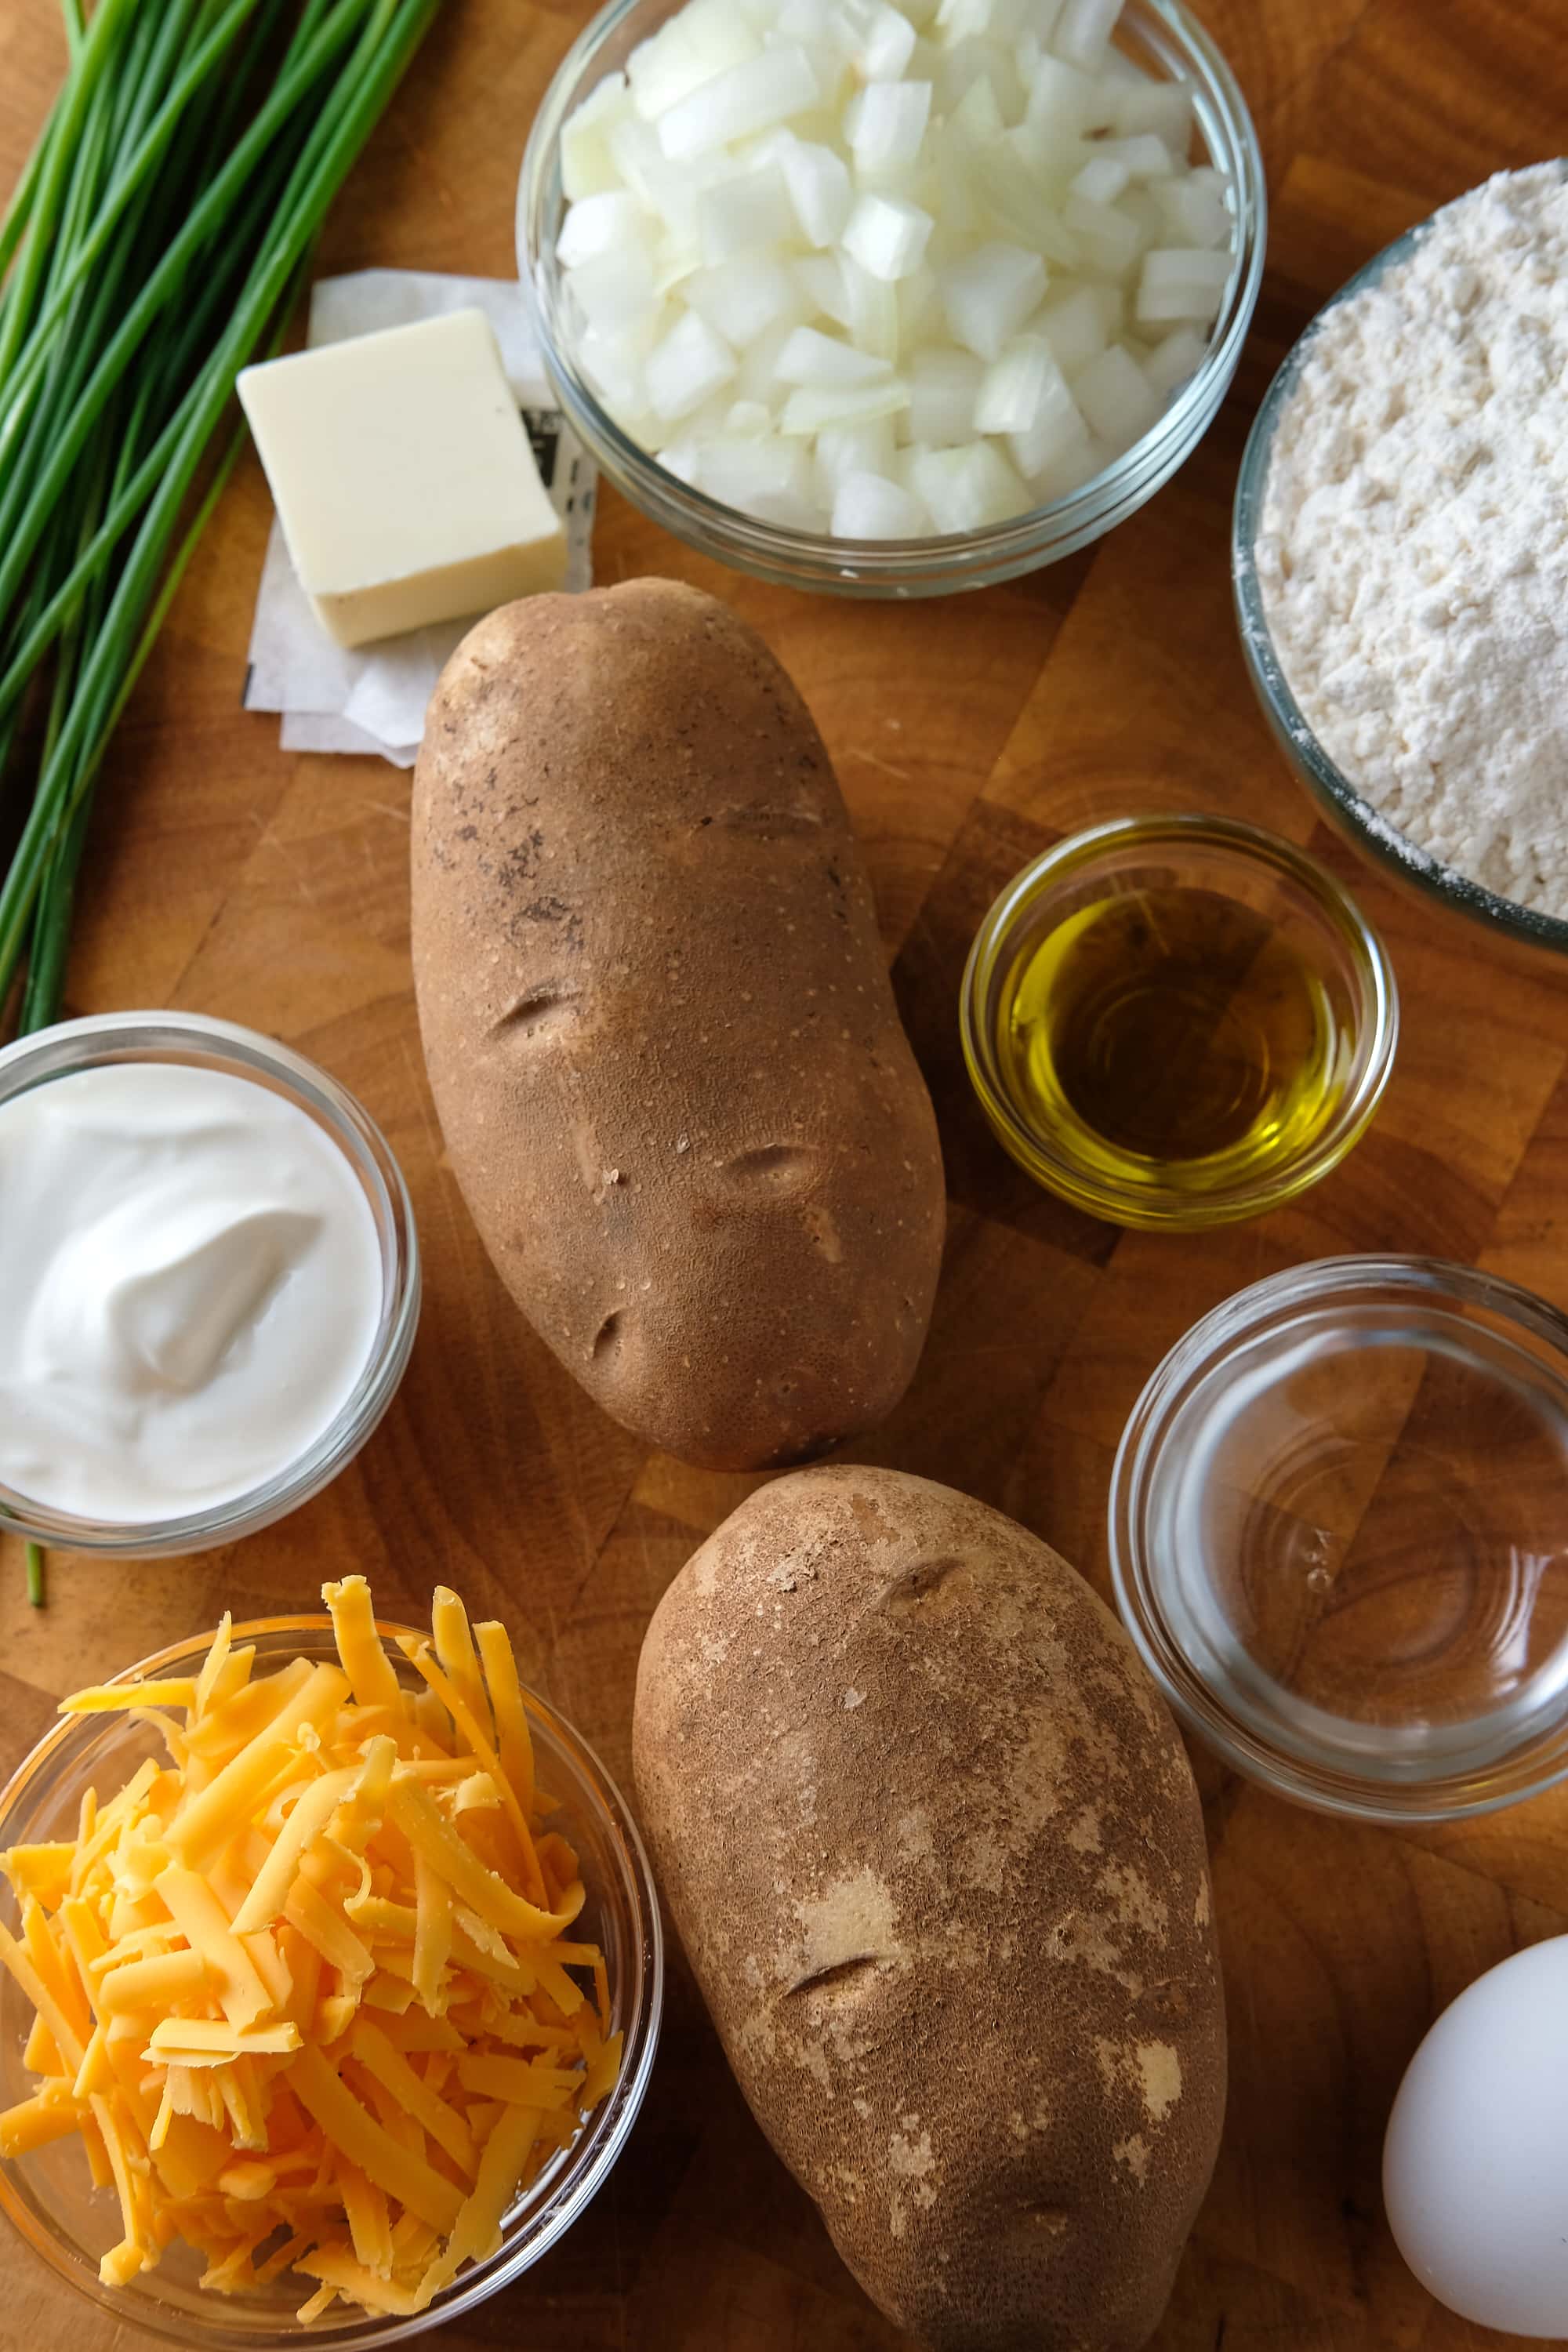
I certainly have a passion for cooking but I’ve never claimed to be a professional ‘anything’ on this site. Many times I’ve posted a recipe having just made it for the first time myself. Sometimes I get it wrong and sometimes I just do it the way I want to do it. When making these pierogi I knew I wanted a crispy fried exterior instead of the traditional boiled pierogi. This makes them a great gameday snack! I also didn’t feel like taking the time to practice pleating my dumplings so I used the less than traditional fork method. I happen to prefer the look of the fork method. If you want to be traditional you can pleat and boil your Pierogi. Boiled Pierogi are really great but they don’t make the best finger foods.
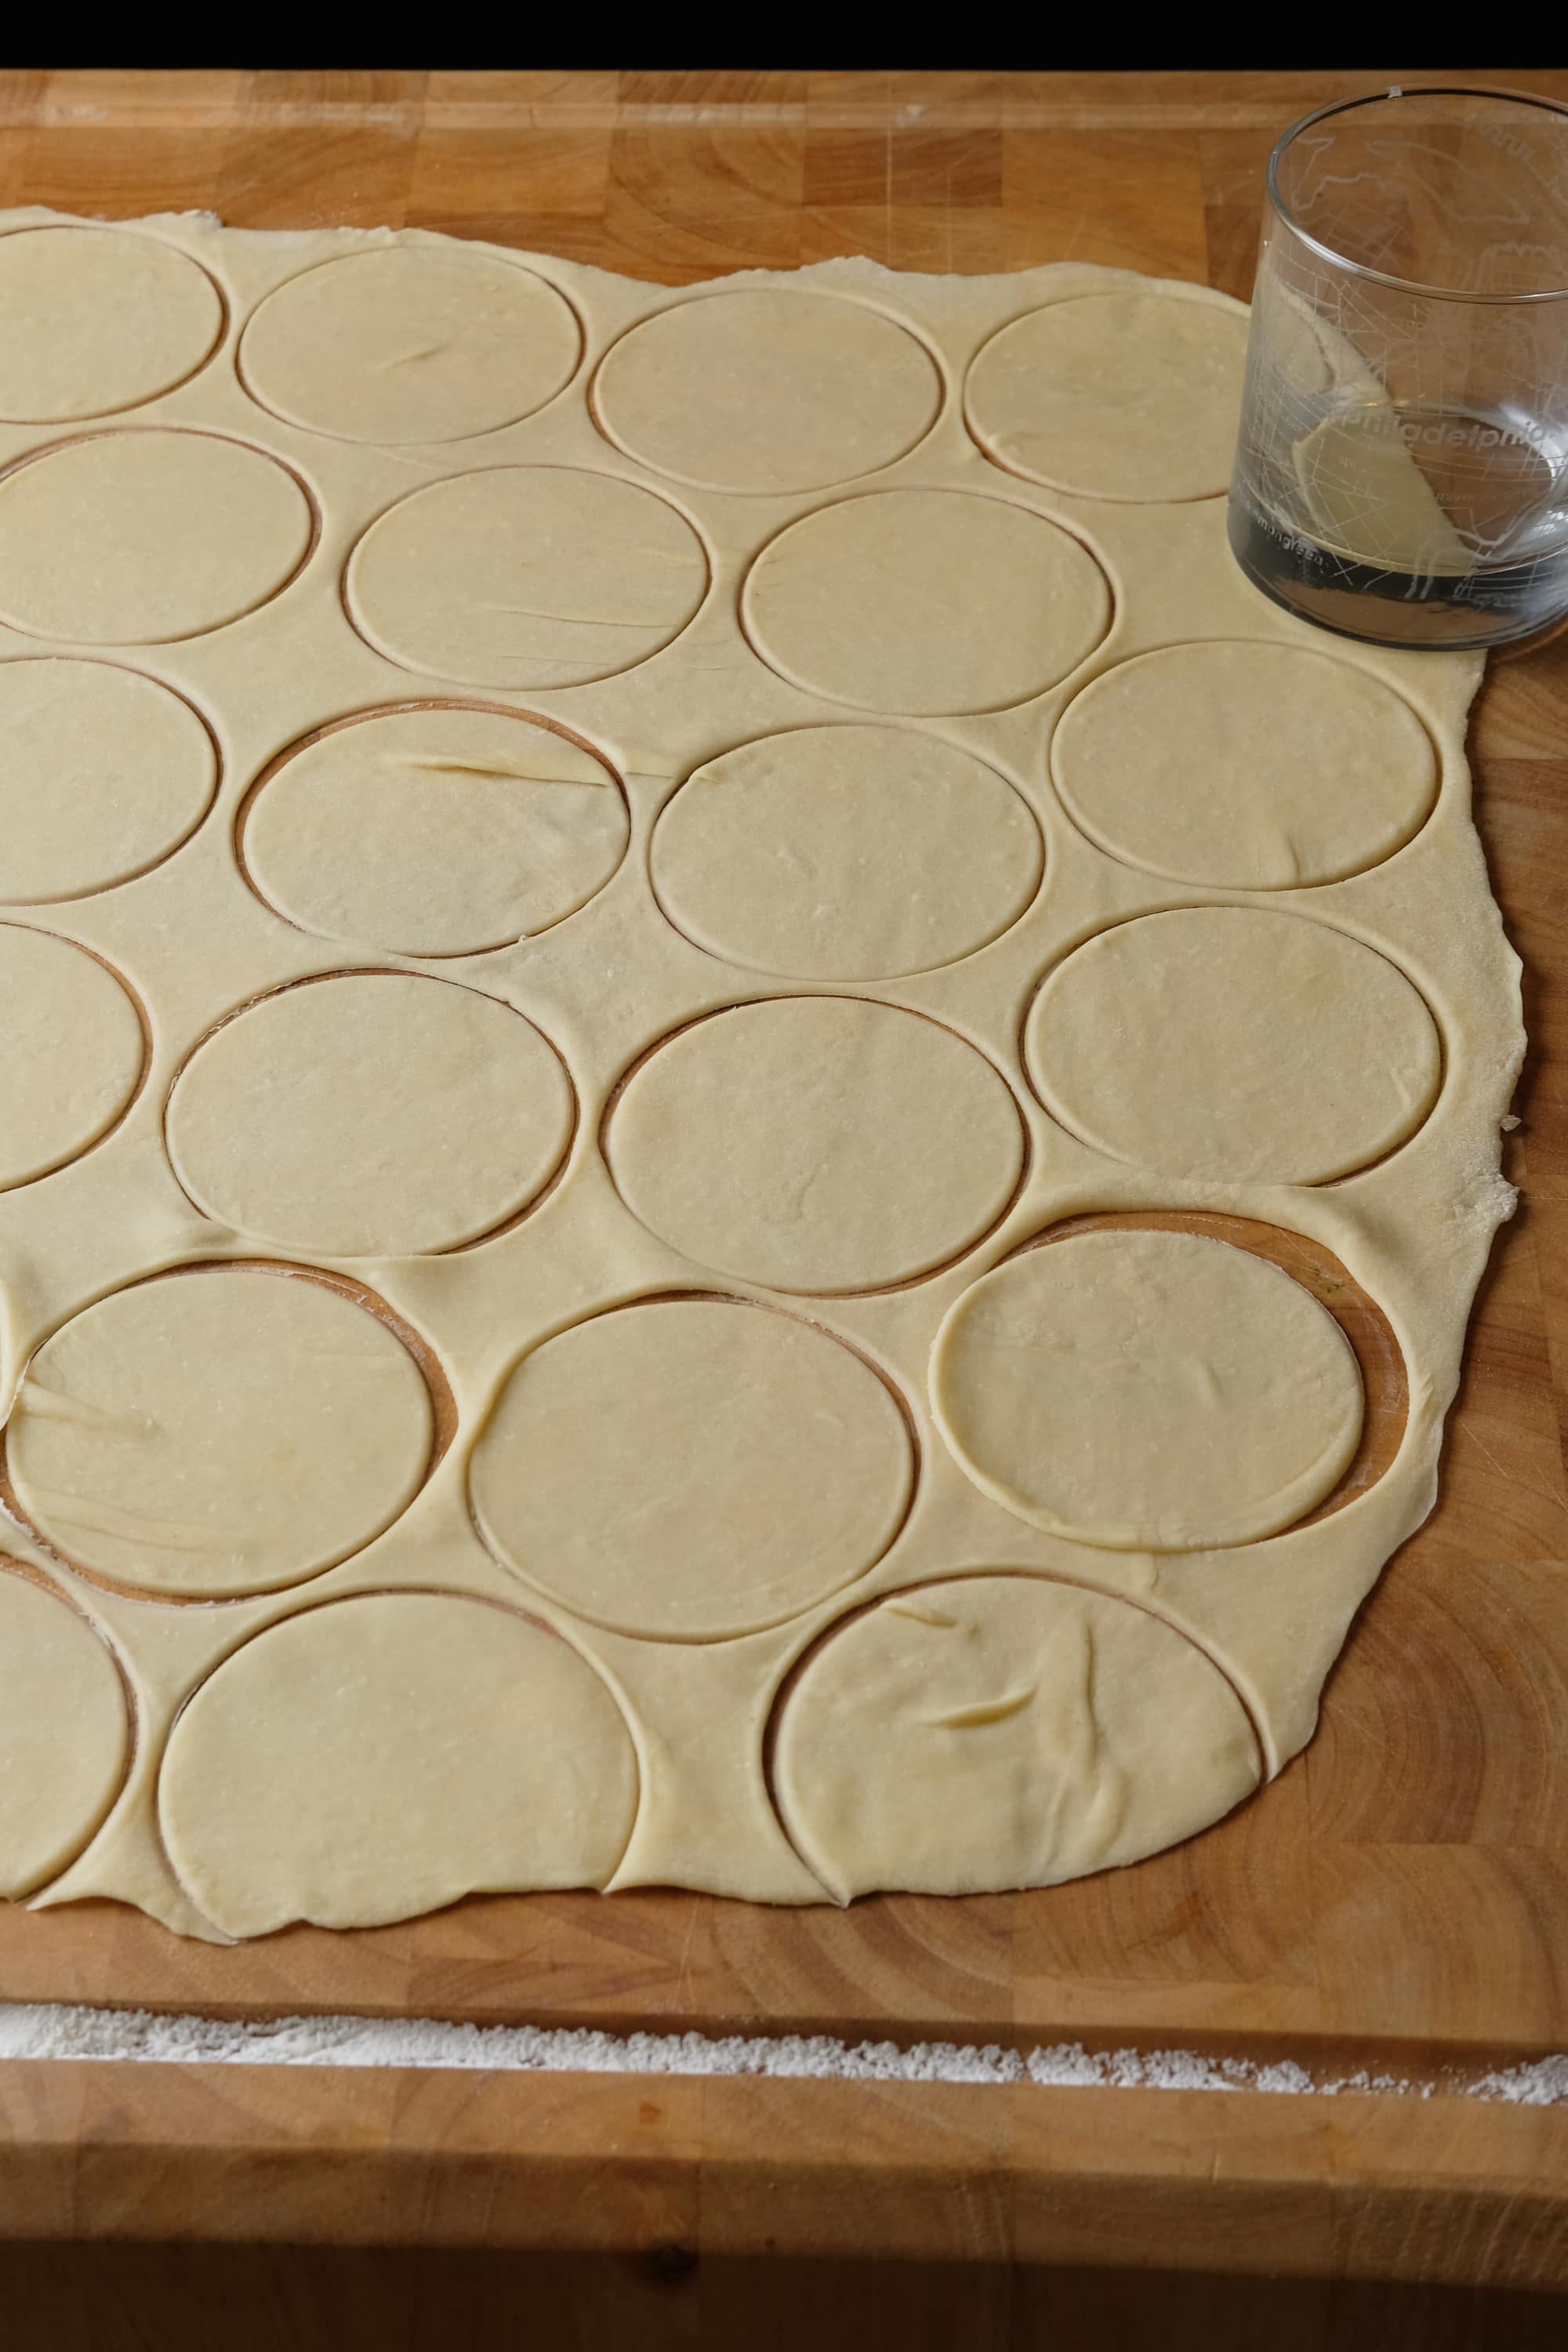
This past month has been all about cooler weather and the start of football season. With that comes comfort food. Comfort food could be a lot of things. Food that’s filling, food that’s nostalgic, and maybe food that’s a little unhealthy. I think these Pan Fried Pierogi might be the perfect bite size comfort food snack. The dough is non leavening so it’s a breeze to knead together in 10 minutes. The potato cheese and onion filling is as complex as mashing boiled potatoes and sweating some onions. The fun part is rolling out the dough and making the pierogi by hand. It takes a little patience and practice but you’ll pick it up after 2-3 of them. Still, they might not be perfect so you’ll just have to make a habit of making pierogi. Besides, after you serve these for a game day snack everyone’s going to beg you to keep making them every week.
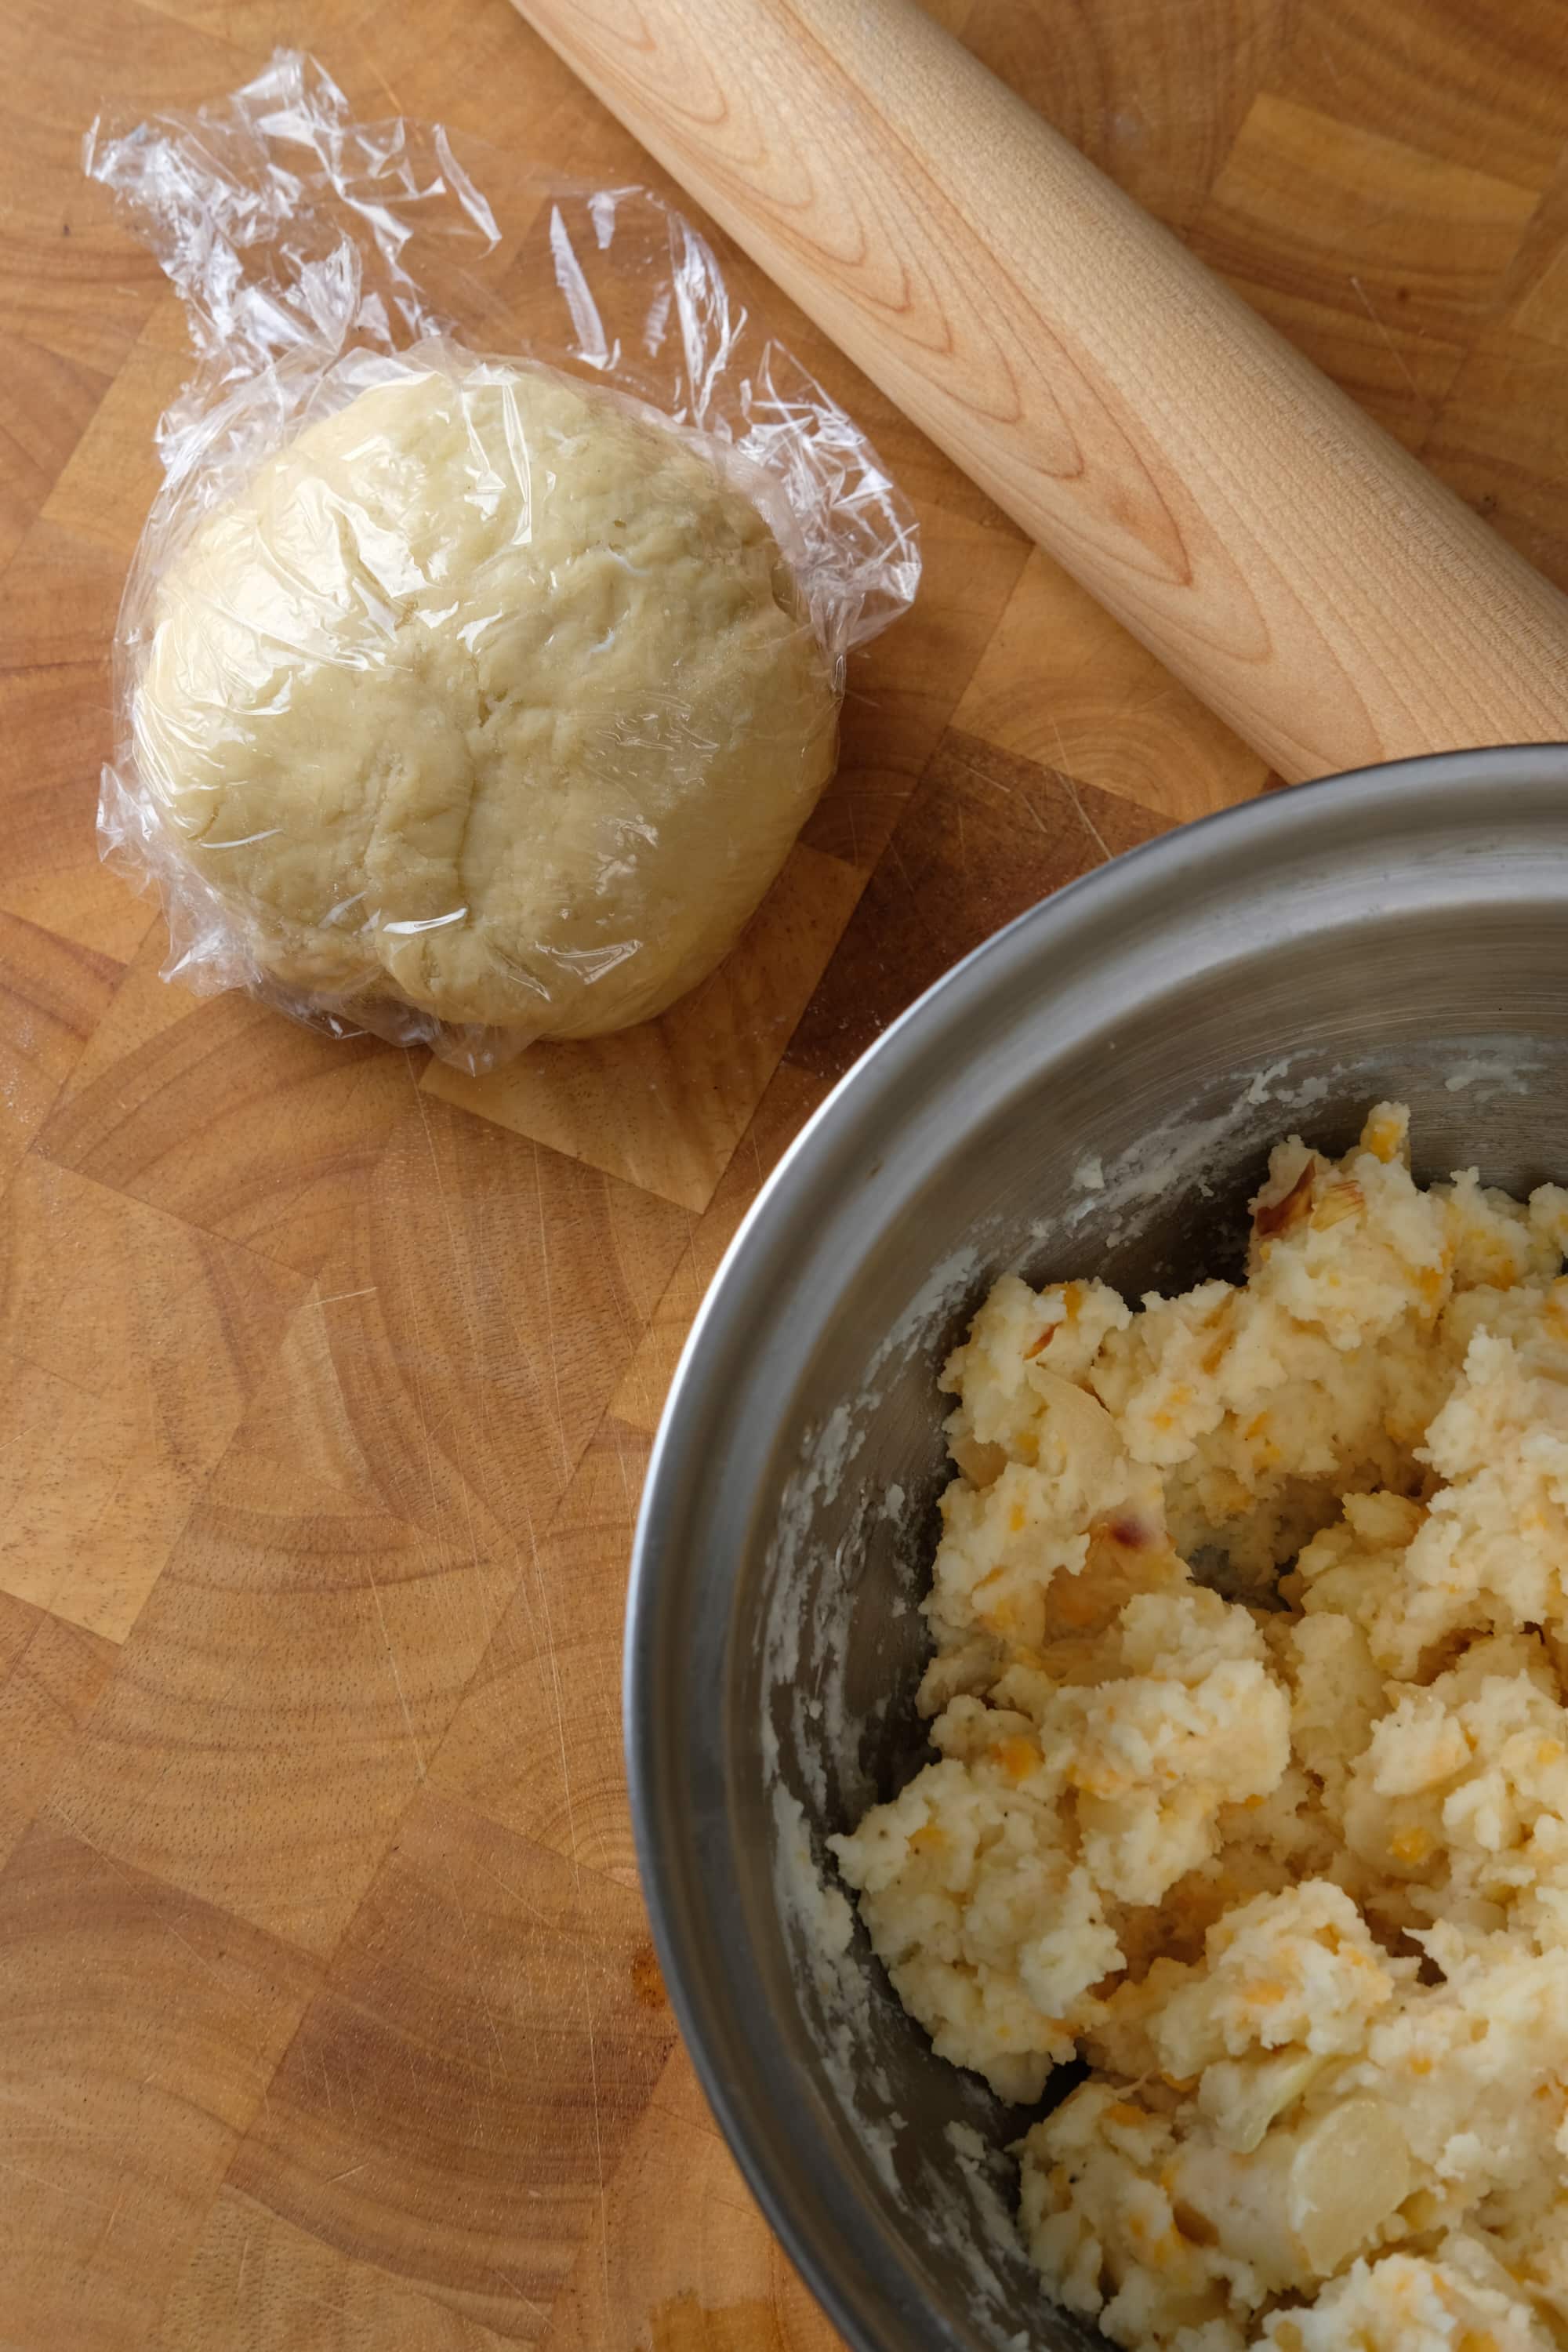
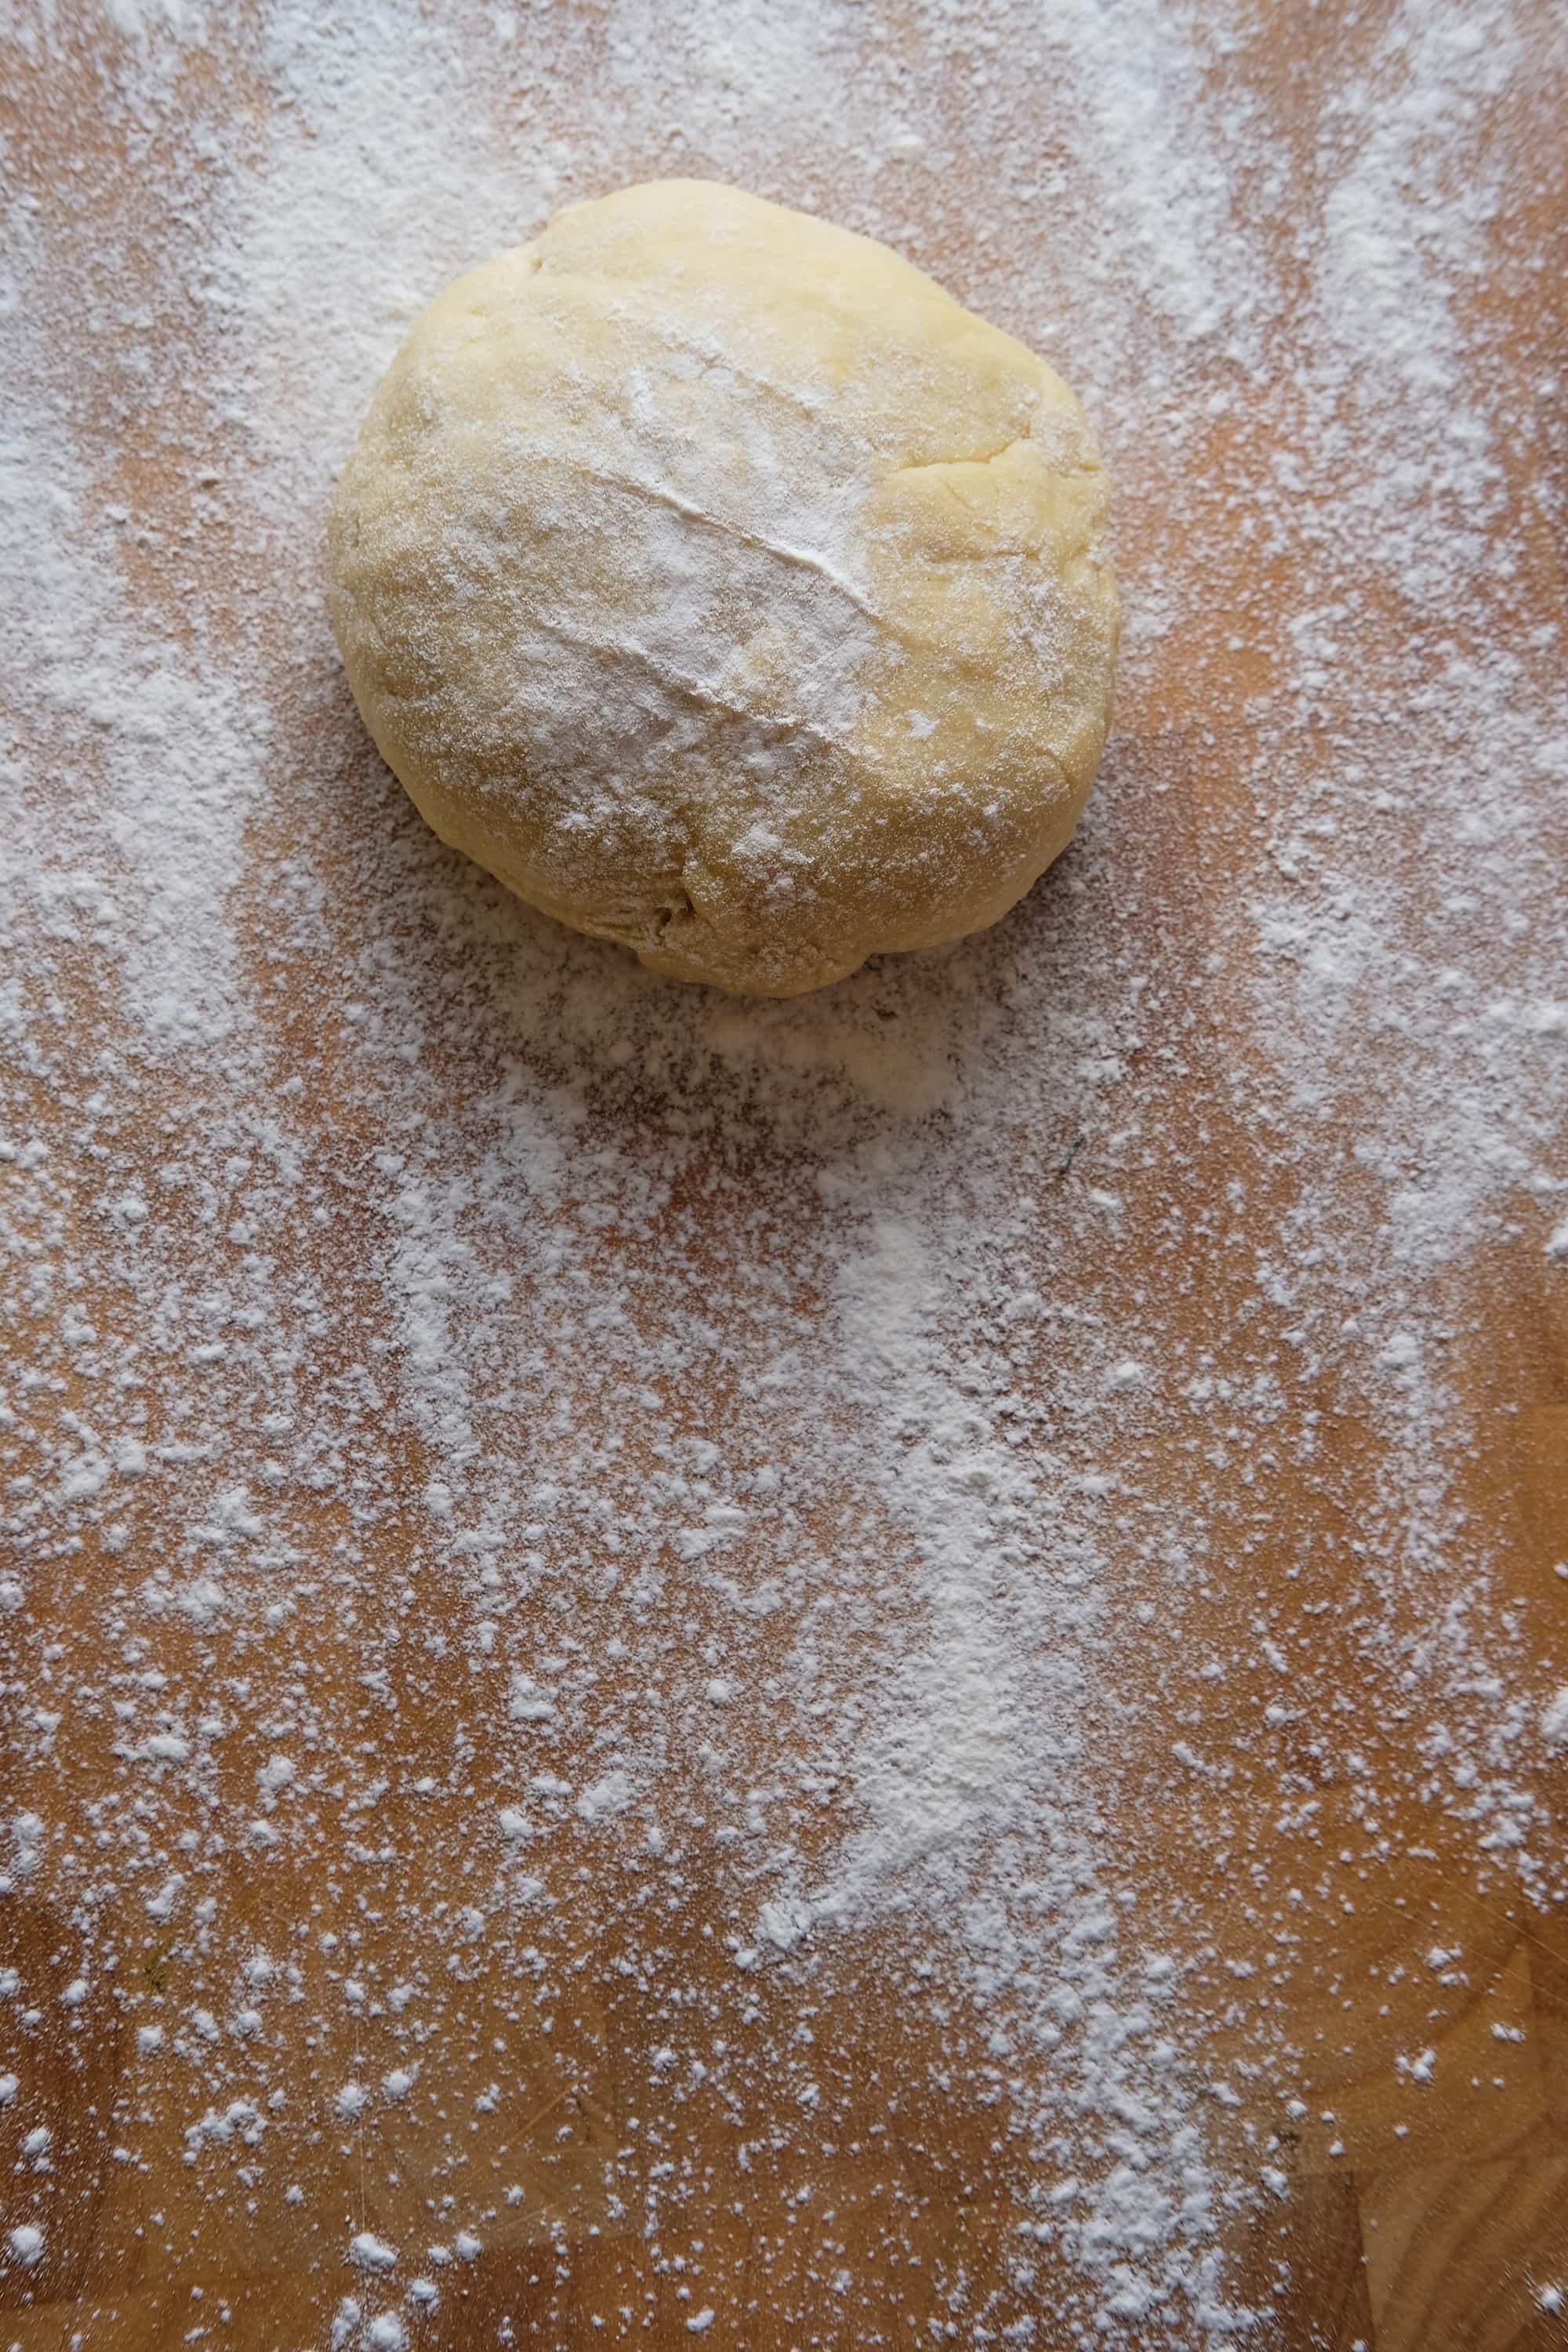
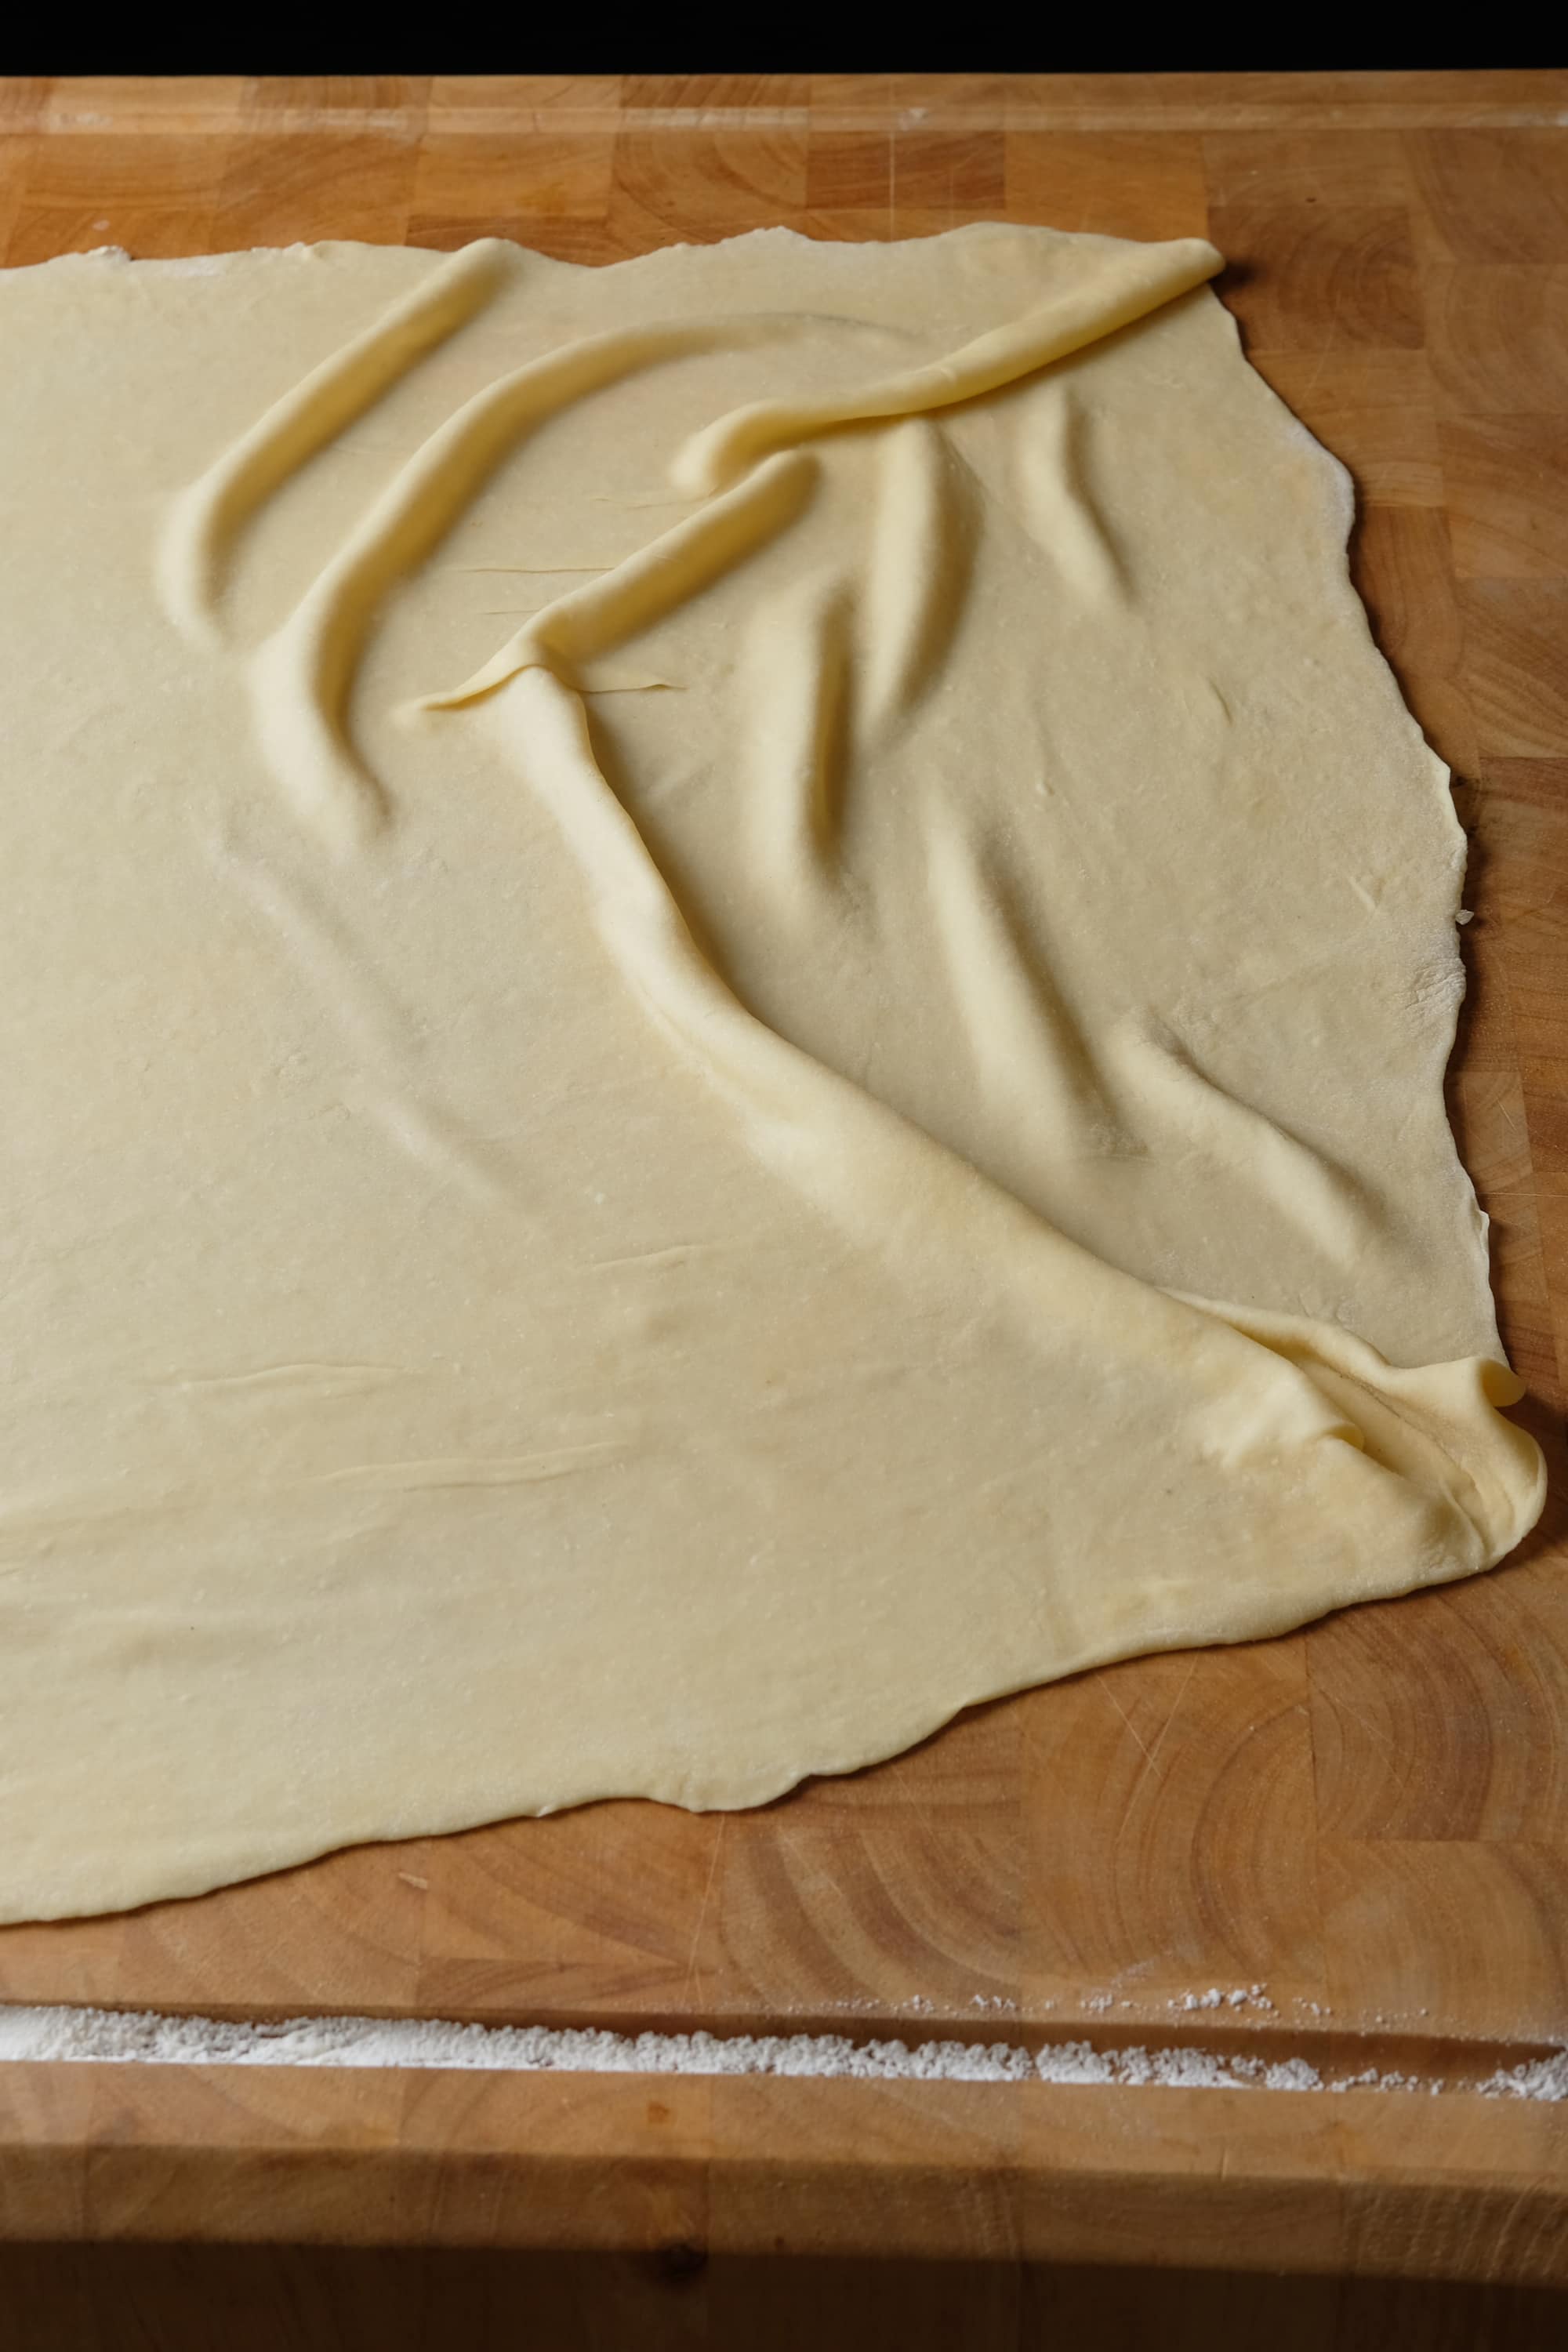
The best part about learning to make pierogi at home is the nearly infinite combinations you can make. First of all, you can either boil them or fry them giving you different texture and flavor profiles to play with. These ruskie style potato and cheese perogi are traditionally boiled and served with fried onions or sour cream. You can make pierogi filled with ground beef and onion, sausage and mushroom, apple and cabbage, or how about steak and onion with a cheese wiz dip. There’s even sweet berry pierogi combinations you can make.
This recipe makes about two dozen pierogi. They’re pretty filling so they’ll feed a decent crowd along with some other snacks. Might I suggest Slow Roasted Garlic Wings or Meatball Eggrolls. If you want to make more you could easily double or triple the recipe. They should keep in the fridge for a day or so under lightly oiled plastic wrap.
To freeze for long term storage they take some prep work. Par boil the pierogi in water with salt and oil – only just until they start to float. Transfer to an ice bath to cool then place on a sheet pan so none are touching. Place the pan in the freezer for about an hour so the pierogi freeze. Once frozen at least part way you can place them all in a zip top bag. When you want to snack on some pierogi take what you’d like out of your pierogi stash and either place them right in boiling water or allow to thaw before pan frying.
Homemade Pan Fried Potato and Cheese Pierogi are pretty awesome. Make them once and you’ll be anxious to try all sorts of different fillings. Let me know in the comments below if you come up with some good ideas!
